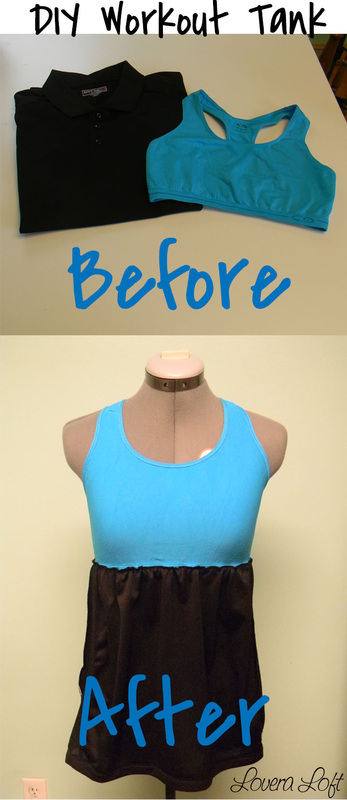
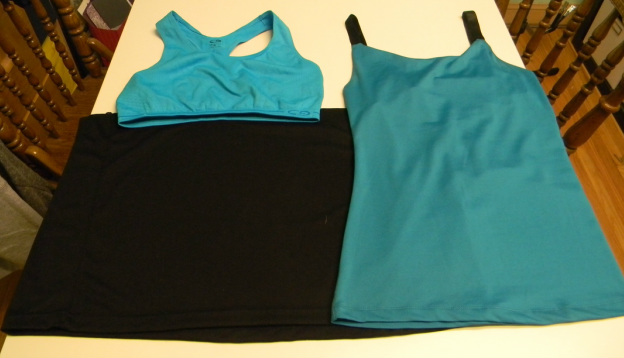
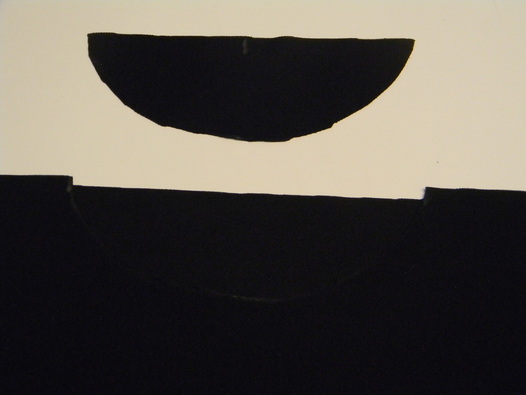
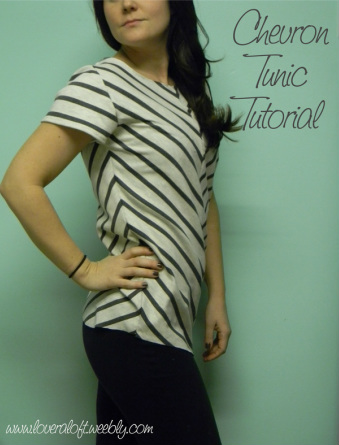
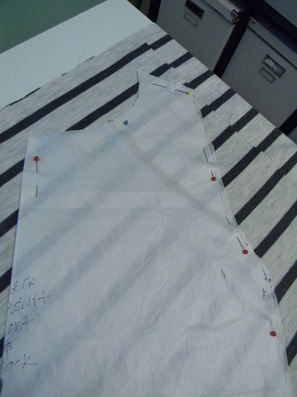
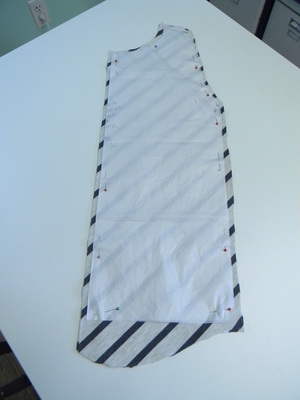
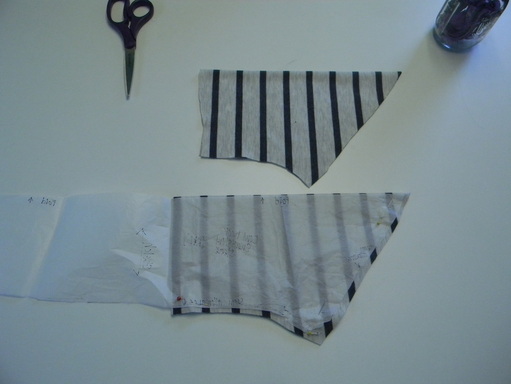
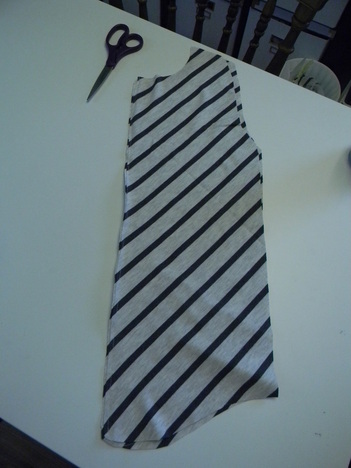
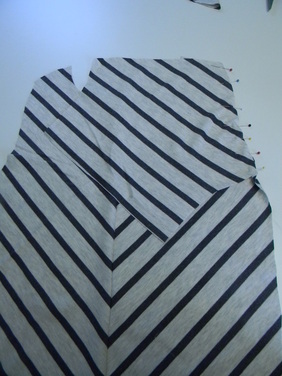
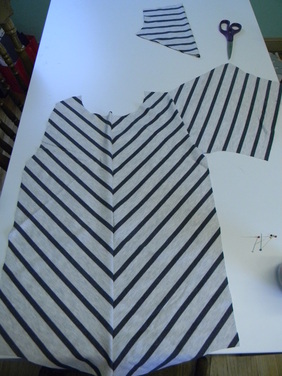
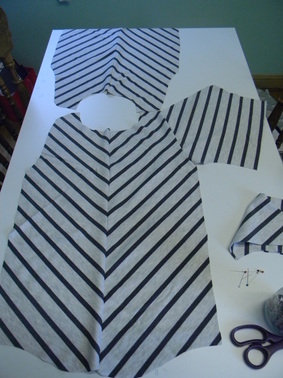
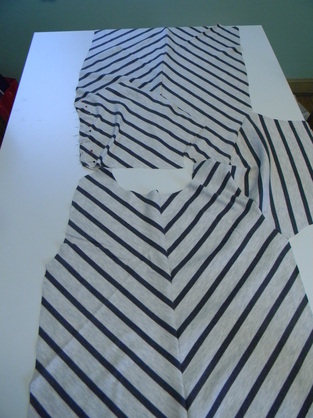
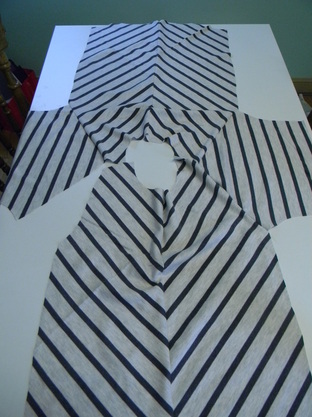
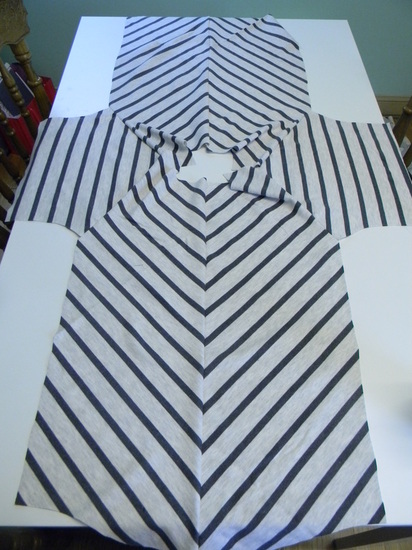
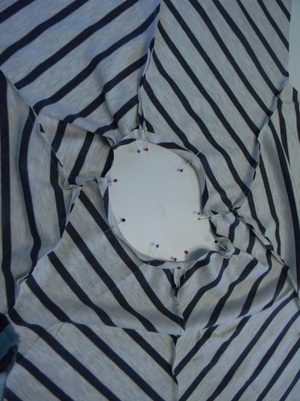
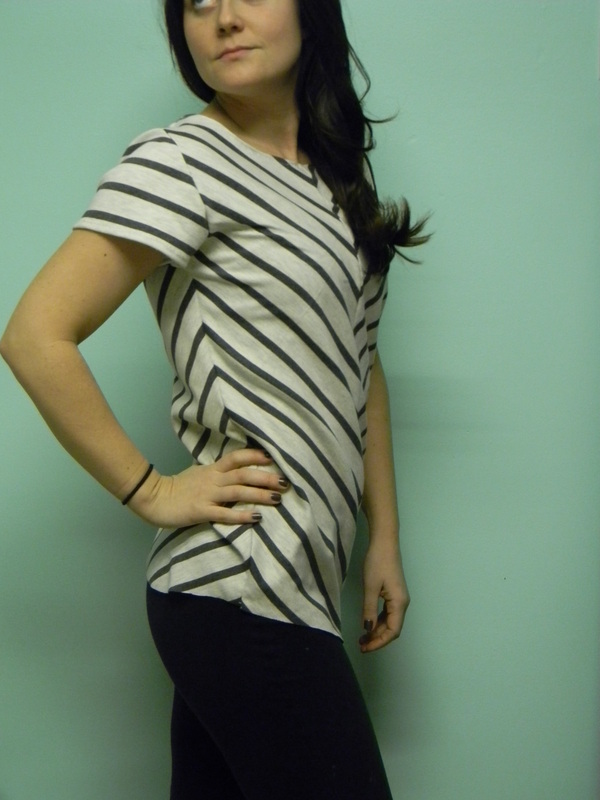
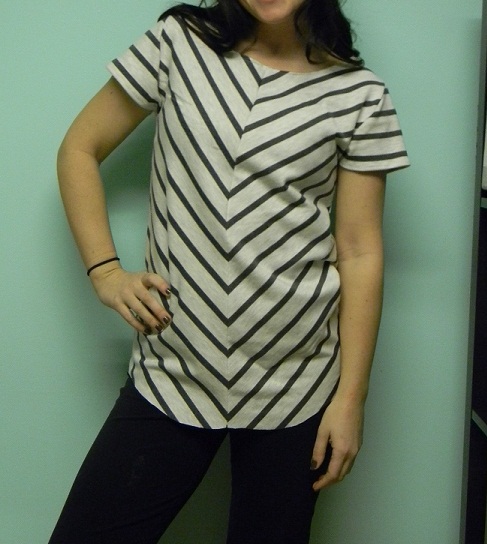
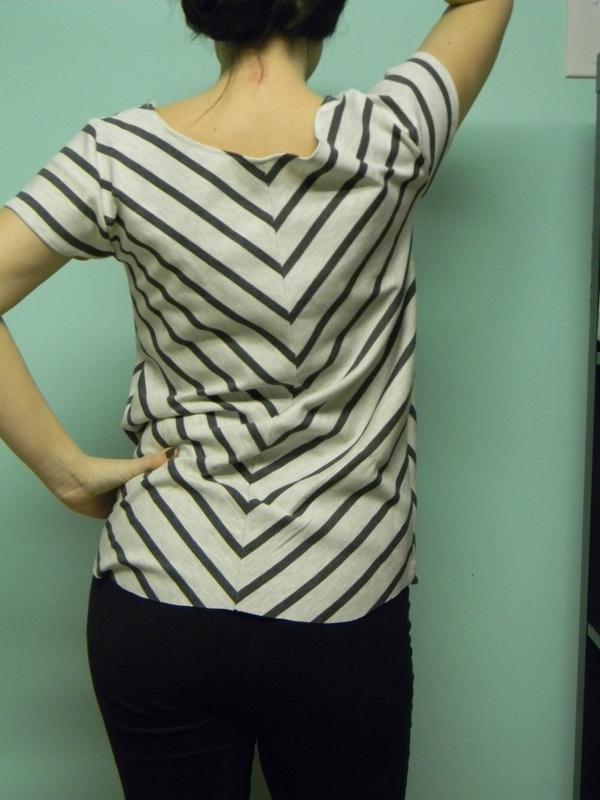
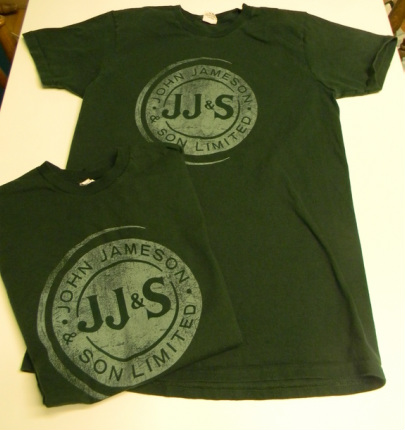
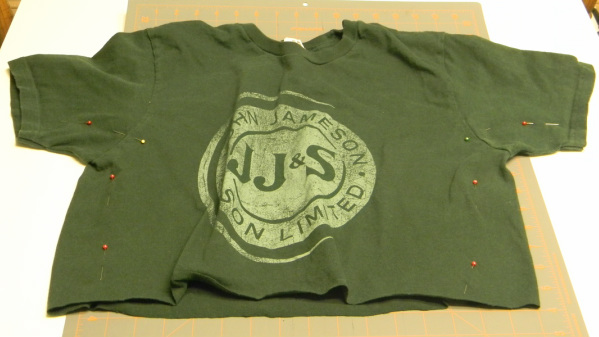
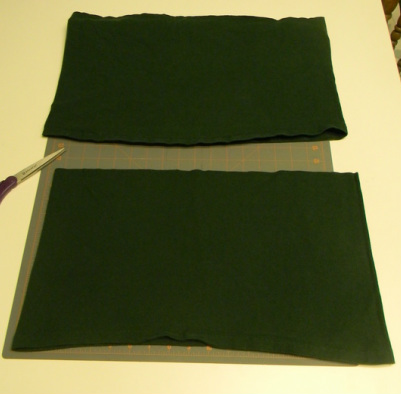
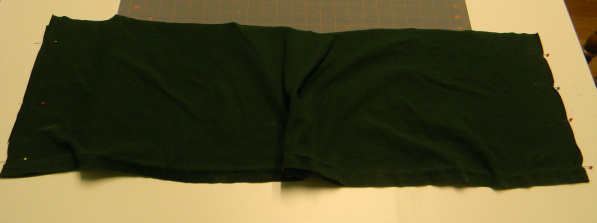
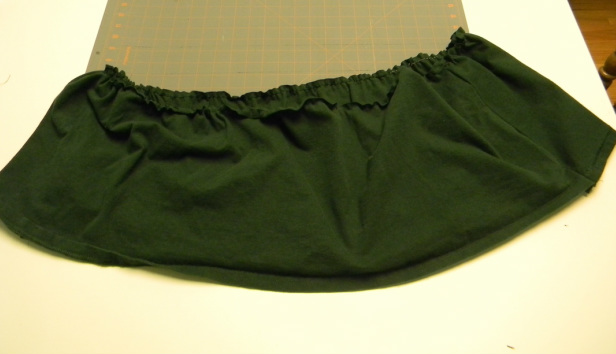
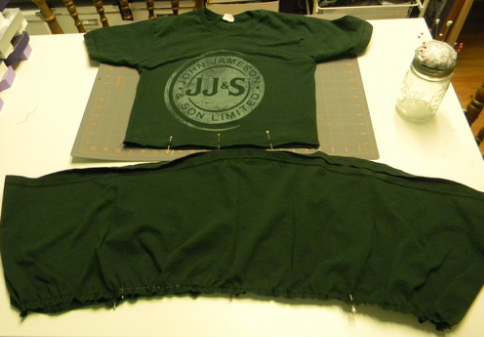
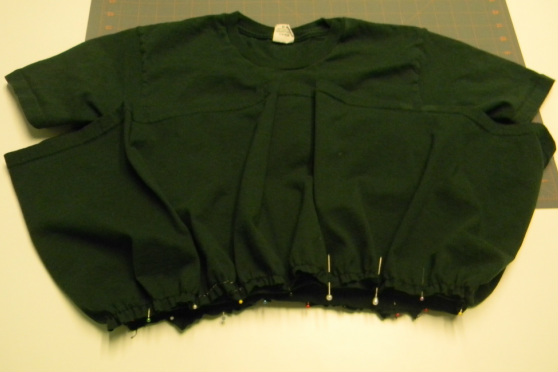
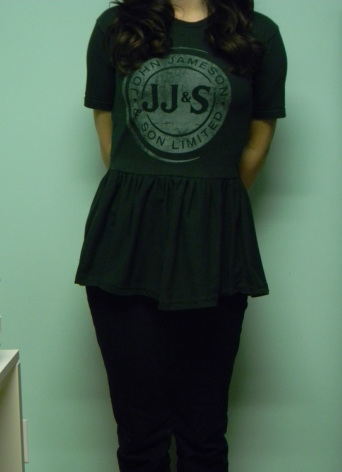
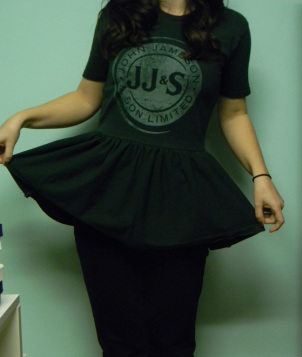
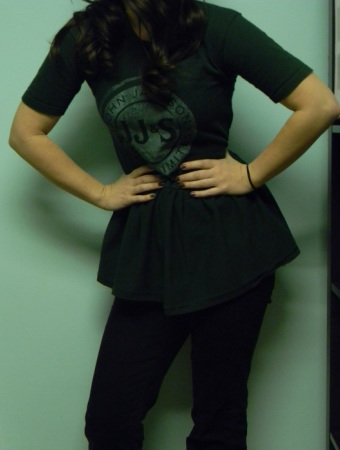
Here is my easy way of making a pattern. I have really only made shirt and sweatshirt patterns successfully.... if you want to see a failed attempt at pattern making check out my shorts post. :( 
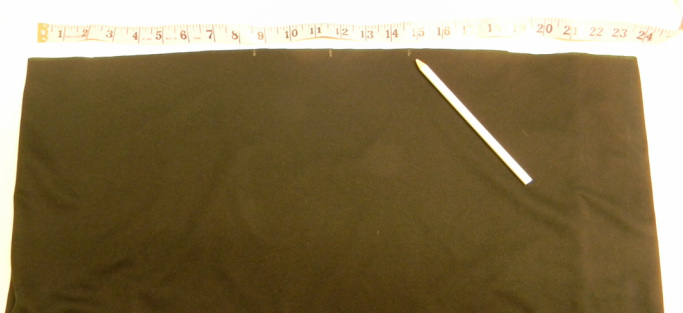
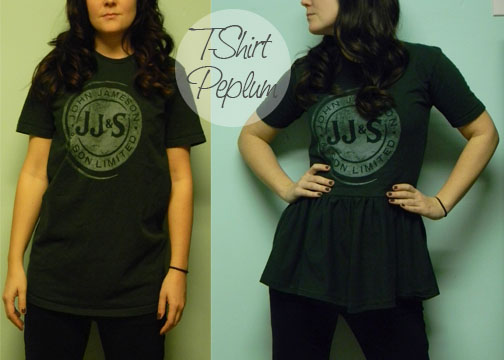
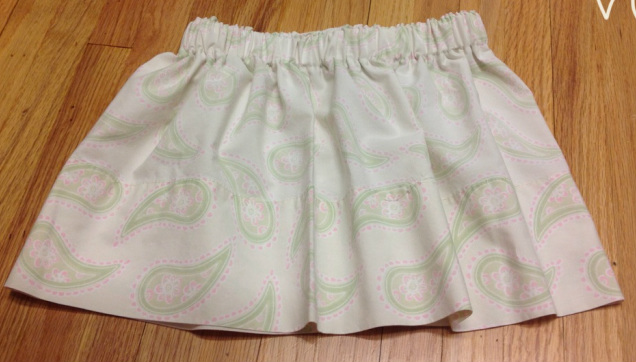
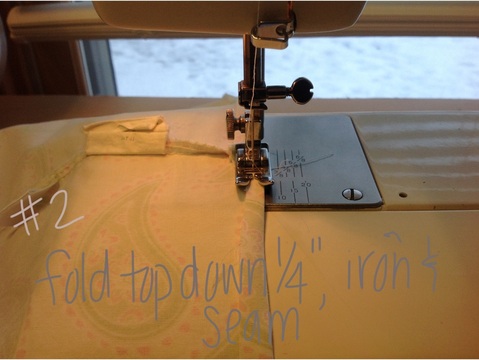
This is pretty basic, but thought I would post this step separately than my next shirt tutorial....which might get a little lengthy :) Hope this inspires you to save tissue paper at EVERY birthday and shower in the future!! Yay reusing!
1 Comment
My FREE workout tank!! Thanks to hubby for the golf shirt donation and Workout Bud Charlotte for the sports bra (or I should say "bras" because she gave me a whole grocery bag full, pays to have a friend with workout world connections--check out her AMAZING fitness blog: The Great Fitness Experiment!) What else can I make with all those sports bras... a swim suit, a sports bra quilt? Mmmm... ;-) Here is what I did: Materials: 1 Sports Bra 1 Large Men's golf shirt (or some sort of "dry fit" material) Sewing machine, regular thread, scissors, pins Tutorial: 1. Lay the sports bra and golf shirt next to an existing tank top to know where to cut the shirt for length. Give yourself about 1/2 inch for sewing overlap. 2. On the bottom shirt, on the back, at the top (part that will attach to the sports bra) find and mark the center. Then measure out a few inches (I did 3") on each side of that center mark. This is for the little cut out detail on the back. 3. Sorry, the picture above is a little hard to see. Cut out a half circle shape from the back/top of the shirt where you made the measurement marks in the previous step. 4. Fold down about 1/4" and sew. You could probably skip this step, I don't think this material frays much, but it only takes a minute. 5. Now, to pin the bottom to the sports bra. Turn both inside out (although if I do it again, I would sew from the outside...I like how the inside looked better than the outside). Place pins on the side seams, centers, and center of those on both the bottom of the shirt and the sports bra so you can match them up evenly. This technique is explained in more detail in step #7 of my peplum shirt post. 6. Above is what it should look like pinned together. This is a picture of the back, you can see where the cut out will be! Now it is time to sew them together. Set your machine to a tight zig zag stitch to give it lots of stretch. As you sew, pull both shirts (mostly the sports bra) as tight as you can. I still had a few points (usually at each pin) where I sewed over a little fold, but it still looked OK. Like I said before I actually like how the inside turned out better than the outside, so next time I am going to sew the bottom shirt on the outside of the sports bra! That's it! Pretty simple and Lord knows I need workout attire, I spend 97% of my life in it!!!
So, what else should I make with all these sports bras?! Sporty maxi dress? Maternity wear for one of my MILLION pregnant friends? Seriously people... that is why I don't drink the water at the YMCA ;-) "I wear your granddad's clothes...I look incredible." LOOOOVE Macklemore!! So, side note about this song, at my home away from home, MN Valley YMCA, we occasionally have a little something we like to call Friday Night Dance Party. My home girl, Jennie, puts together a hip hop dance that we learn all in one night. And then, naturally, we film ourselves for YouTube! Here is Jennie's channel: http://www.youtube.com/user/indyboxer I am excited to say that Thrift Shop by Macklemore might be our next venture and you'd better believe that I will be wearing some little treasure from the thrift shop for the booty shakin' fun! Why all the thrift shop talk? Well, this sweatshirt fabric was a fabulous find at one!! I think it was about 2.5 or 3 yards and $3.99? I struggled for a while on what to make with this thick jersey stretch material, besides your normal sweatshirt. I settled on short little cap sleeves, a longer length with a "baseball T" cut bottom, and piecing the stripes to make a chevron pattern! I really like how it turned out...the only thing I might alter is the bottom. I like the shape, but it hits a little tight on my hips and so I might turn it into a shorter more fitted bottom with a waistband. But for now, so comfy and I love how the stripes turned out! Here is my tutorial: *Side Notes:
1. Place Pattern: Fold the fabric lining up the stripes as best you can. Fold the sweatshirt pattern in half. Place the pattern on the fabric at an angle & pin in place. I also drew faint pencil lines on my pattern piece mimicking the lines on the fabric. I think this helped when cutting the back pieces. 2. Cut front & Back pieces: Cut around the pattern through both layers. This makes two front pieces. I cut lower in the front and higher on the sides. Also, see in my picture where it dips up again slightly on the left (front) well, later, I made that more straight so that it matches straight with the other front piece. Make sense? Otherwise it would come up like a little triangle framing your who-ha....not cute! **Do this exact same thing for the two back pieces. 3. Cut out sleeves: Take a sleeve pattern piece and place the top on the fold. Cut out two sleeves. I cut mine a little longer than I wanted so once I have it on I could adjust the length. 4. Sew the front pieces and back pieces together: Take the two front pieces you cut out and lay them on top of each other just as you cut them out. Sew a straight stitch all along the front piece (the left side in my picture below). When you open it up you should see your chevron pattern, yippee!! * Do the same thing to the two back pieces. 5. Adding the sleeves: I took a bunch of pictures of this steps so here goes. First match one sleeve to the left front bodice (right sides together) & pin in place. Remember, the "folded" part of your sleeve pattern should be at the top of the shoulder. Sew a straight stitch. 6. Add the back piece to the left sleeve: Match up the other part of that sleeve to the arm hole of the back piece. Pin right sides together and sew. 7. Attach right sleeve to back piece: Take the right sleeve and pin it to the back piece, right sides together. Sew. If you look closely you can see my pins on the left in the picture below. 8. Sew right sleeve to front bodice: Place that right sleeve on top of the front bodice piece matching the edges. Pin and sew. This is what you should end up with. 9. Hem the neckline: Pin the neckline down to the inside about 1/4 inch and pin. You only have to fold over once since the fabric will not fray. Then sew down. I used a straight stitch, but when I did the sleeves I used a zig zag and it turned out nice. So if I were to do it again I might zig zag around the neckline too. 10. Shoulder seams: Next fold the sweatshirt with front and back right sides together. Pin and sew the shoulder seams. 11. Side seams: With the sweatshirt inside out sew up the side seams and under the arms with a straight stitch. 12. Shorten sleeves: Put the sweatshirt on and get excited because you are almost done! Fold the sleeves up to where you want them and pin. Cut leaving about a 1/4 inch for the fold. Again, I folded only once because I don't think it will fray. *Repeat on both sleeves. 13. Turn right side out and you're done!! OK, so this isn't the only time I have found stretch jersey knit (thicker sweatshirt style) at the thrift store. I REALLY want ideas of what else I could sew with this kind of fabric. I tried a maxi skirt which worked OK, but it can't be over 60 degrees or too much leg sweat starts happening ;-)
Another St. Patrick's Day sewing adventure, however, this year wins with only taking about 2 hours versus last years 10+ hours for the leprechaun jumper! I decided that I wanted to take a t-shirt from hubby's company, since we will be with them on St. Patty's, and make a peplum shirt! I researched for a while on Pinterest and Google but the only tutorials were using non-stretch + a zipper and I didn't want to mess with a zipper. The other tutorials used regular thread, but I was worried it wouldn't stretch enough. So I decided to come up with my own way to make a peplum and it worked pretty well! The only thing I might change is to shorten the peplum part, me and my long torso... I am not a fan of "too short shirts", but as of now it looks a little too toddler dress, ha! Here is what I did: 1. I started with 2 women's large t-shirts. I used one for the bodice and peplum, and the other for the other half of the peplum. 2. Cut off the bottom of shirt #1. Mine was 8" down from the armpit I think. 3. Taking the top in: Put the shirt on (inside out...which I didn't do the first time...) and pin close to your body on the sides and under your arms. You can see that the front piece is bunchier because your front is usually a little bit bigger than your back (barely in my case). ;-) Sew along the pin lines (again, with right sides together, inside out). 4. Now on to the peplum part. Take the bottom you cut off from t-shirt #1 and do the same with t-shirt #2. So now you have two of the same size piece. Open up each "circle" on one side so you have two very long rectangles. 5. Lay your two long rectangles on top of each other right sides together. Pin and sew together along the two short ends to create your long circle for your peplum! 6. Here is where I used my elastic thread in my bobbin. I just wanted to be sure that this would still stretch since it was hitting me at the smallest point of my waist. I might have been able to use a wide zig zag stitch and normal thread, but I didn't want to chance it. So I sewed a straight stitch all the way around the top of my circle with normal thread on top and elastic on the bobbin. This gathered it in a bit as you can see above. 7. Pinning and centering: Here is a trick my Momma taught me about adjoining to pieces that are drastically different lengths. On both pieces (the shirt bottom, and the peplum top) find the center front and center back by matching the side seams and folding in half. Mark with pins. Find and mark the following on the bottom of the shirt and the top of the peplum: between center front pin and left side seam between center front pin and right side seam between center back pin and left side seam between center back pin and right side seam 8. Now slip the peplum over the shirt, right sides together, matching up the two rough edges. The peplum is upside down at this point. Match the pins all the way around and add a few more for good measure. So match the front center pins on both and match the sides seams, etc. Then sew (again I used elastic thread in my bobbin) around the whole thing, you may have to fold and tuck a little.. Also, sew "above" the first seam (closer to the top of the shirt) so that when it folds over you won't see the original sew line. That's it! Now for some fun self timer pics :) Hehe, had to do a vogue pose ;-) So what do you think, should I shorten the peplum a bit? Anyone else still get super excited to craft/dress up for holidays?!
I know I claim many of my projects as easy...but this one is super easy, I promise!! I was inspired by these adorable little skirts I found at Dana Made It through Pinterest. I definitely want to try this with some cute fabric I have stashed away in my bookcase boxes....but I also had two pillow cases left from a handful given to me by Workout Buddy Becca that I needed to use so I thought this might be the perfect project for one of them! Turned out to work perfectly with the pillowcase because I got to skip two seaming steps by using the finished bottom edge of the pillowcase! Yay for skipping steps! I also still have about half the pillowcase left for yet ANOTHER project...these pillowcases will not go away!! ;-) Kidding, anytime someone wants to donate anything that even resembles fabric I will take it!! ......Shhh don't tell my hubby who actually just called me a hoarder tonight for the first time :( I guess I am surprised it took him a whole 2 years of living with me before this secret was revealed!!
;-) Supplies: 1 pillowcase sewing machine coordinating thread 1.5 inch non-roll elastic (21 inches long for a 20 inch toddler waist) safety pins Tutorial: |