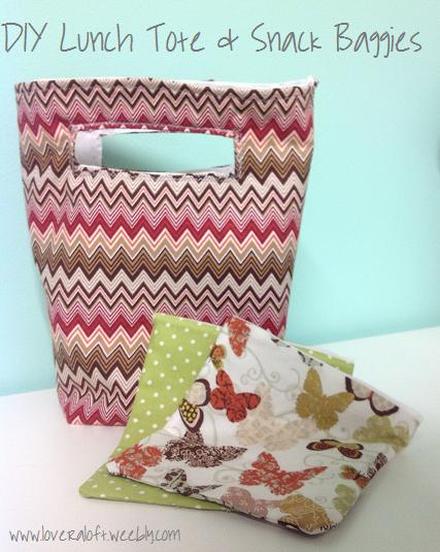
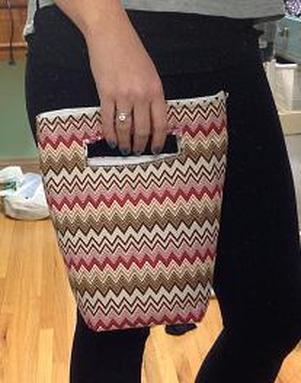
Finally I can post about some of the Christmas gifts I made this month! I have been wanting to attempt a lunch bag for a few years now, and so when I drew a family name for Christmas I was ecstatic to realize I had drawn Emily, a fellow teacher!! It is not safe to give a lunch bag to anyone in any other profession other than a teacher, we are all alone in the "stuck at work over lunch hour...(errr lunch 20 minutes) category.
I have made snack baggies before and love them. I use them for lunch snacks, but also for little sewing gadgets, or jewelry when traveling. Here is the tutorial I follow for the snack baggies from Owen's Olivia: http://owensolivia.blogspot.com/2011/08/olivias-snack-bag-tutorial.html
As for the lunch bag I followed a tutorial from Craft Buds: http://www.craftbuds.com/car-trash-bag-reusable-lunch-bag/
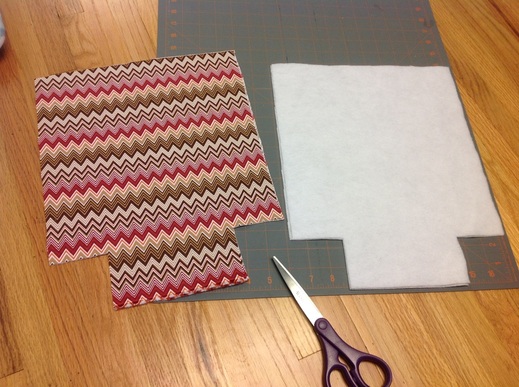
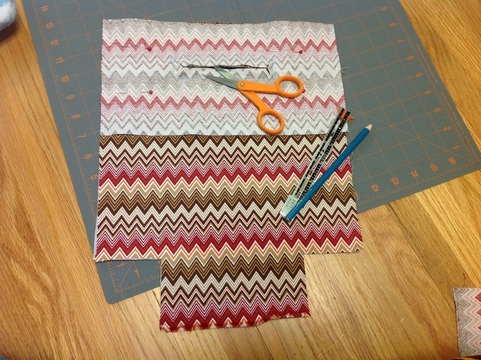
Lunch Tote Materials:
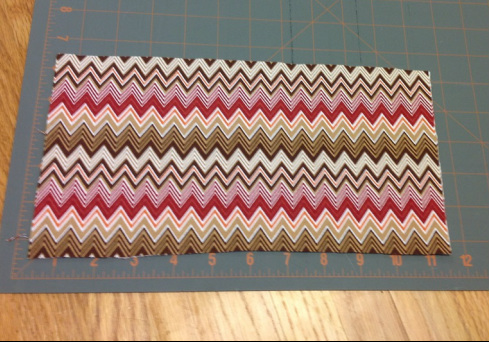
-a fat quarter of fabric (I used about half) These are those little folded squares of fabric that are used for quilting I think.
-muslin for the lining
-fusible fleece (I did not have interfacing, so I used this and it seemed to work just fine)
-sewing machine, thread, pins
Lunch Tote Tutorial:
So I basically followed the tutorial on Craft Buds, but here are my pictures anyway! Also, I did line my bag which they did not so I will try and explain how I did that.
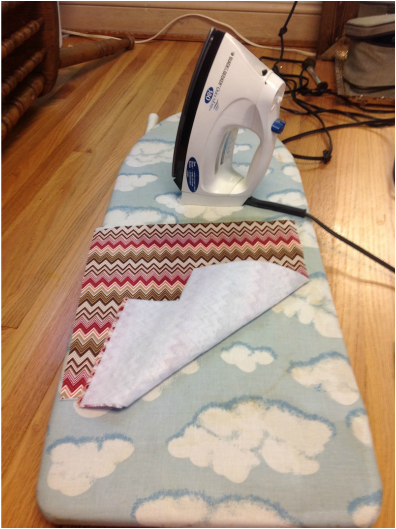
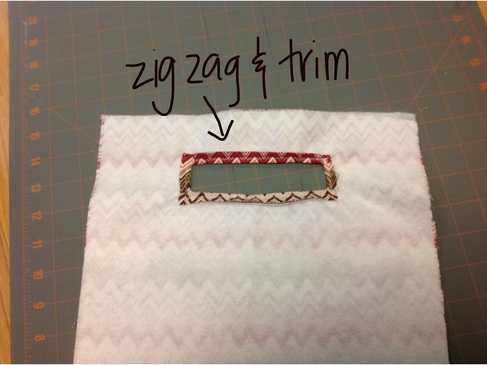
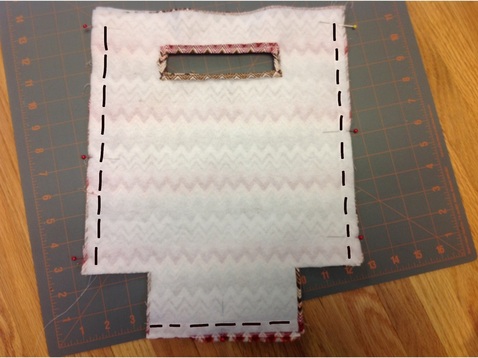
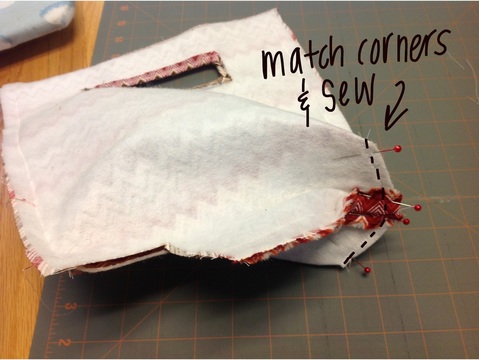
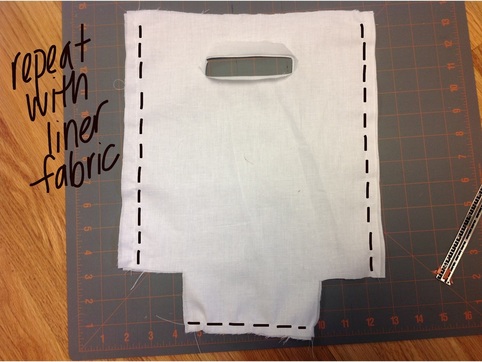
OK, so here is how I did a liner. I cut 2 pieces of my muslin into the same shape as the bag with the squares cut out of the bottom corners. I also cut the handle hole the same way as the outside fabric. When I slit the handle I ironed back the little flaps to get them out of the way of the handle. I then sewed along the edges and bottom of the liner shown below. I also then matched up the bottom corners and sewed to create the boxed bottom again just like the outer fabric.
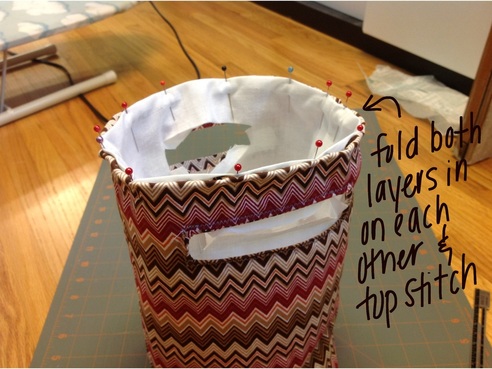
Next, I placed the lining inside the bag, wrong sides together. I folded both layers in on each other and top stitched around the entire top. I wasn't quite sure what to do around the handles so I just folded the flaps to the inside and again top stiched around each handle. It doesn't look the prettiest because you already have a zig zag stitch there already, but I wasn't quite sure what else to do. ;-)
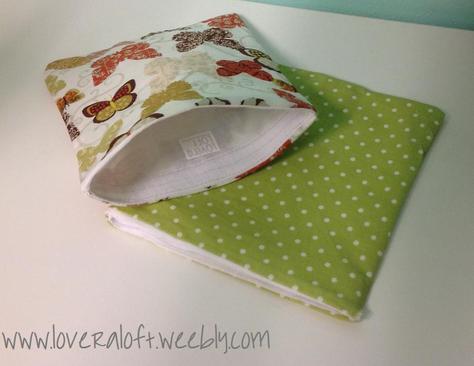
Don't you love a themed gift?! Another addition to this lunch themed gift could be a sandwich wrap. I found a tutorial using fused plastic bags on Chica and Jo that I have been dying to try!
 RSS Feed