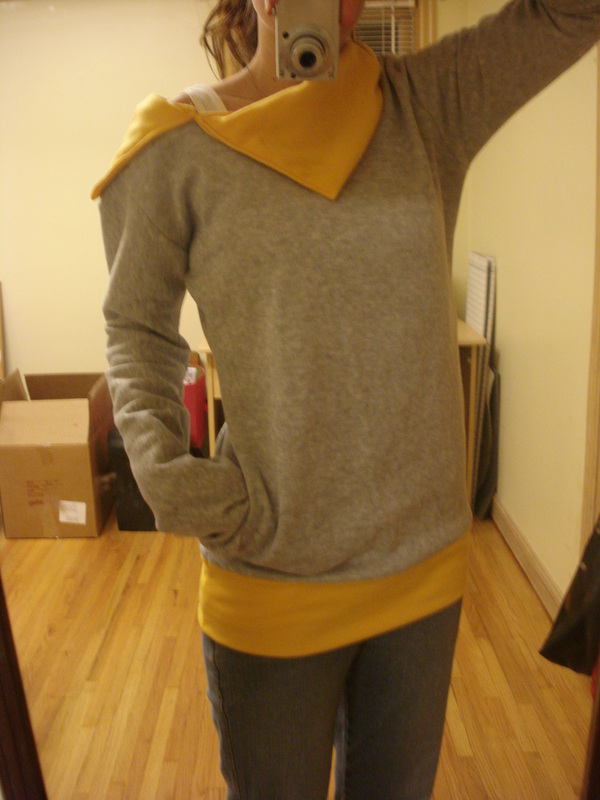
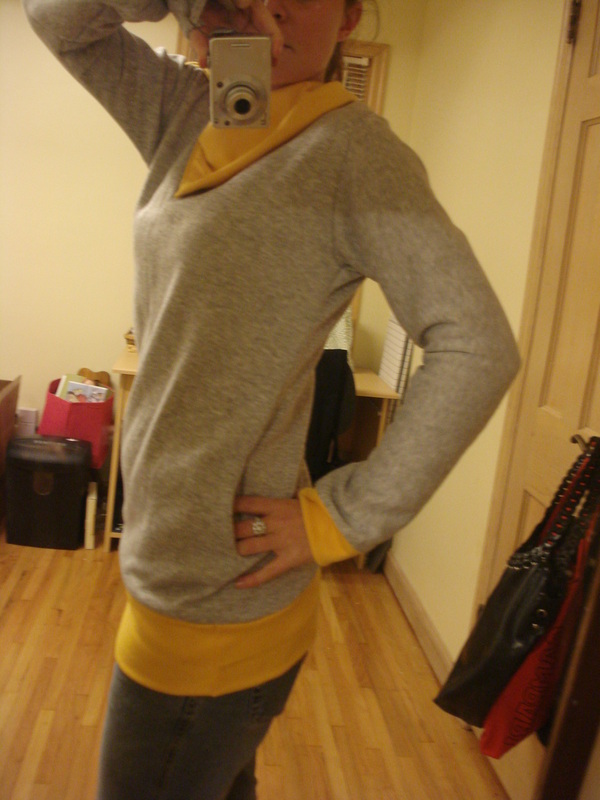
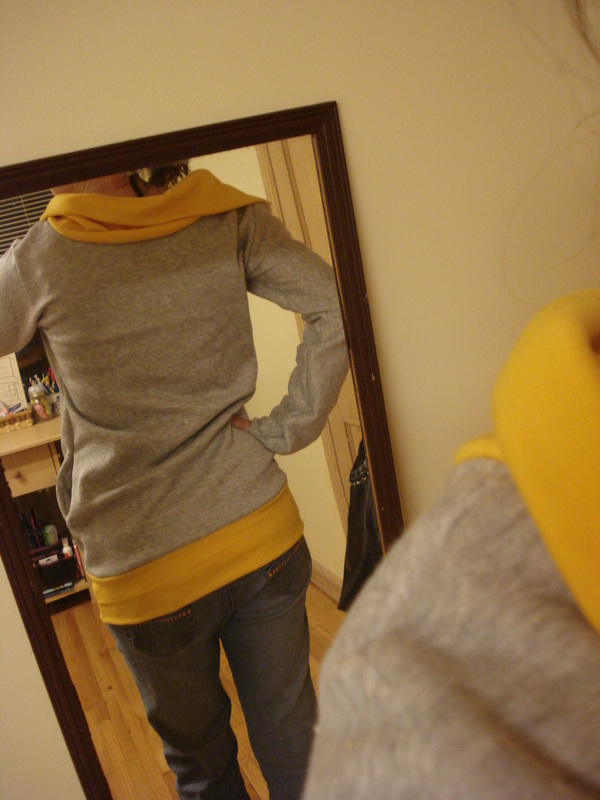
Sorry had to slip in my first pun...I do love a good cheesy line! :) Sew, (haha, I will refrain from using it the whole post, promise!) I made this sweatshirt as a Christmas gift and really, really struggled with giving it away. The stand up collar didn't work as expected but actually turned into an awesome off the shoulder look which I love love love right now! Any 80's fashion comeback is A-OK in my book!!!
Here is what I did:
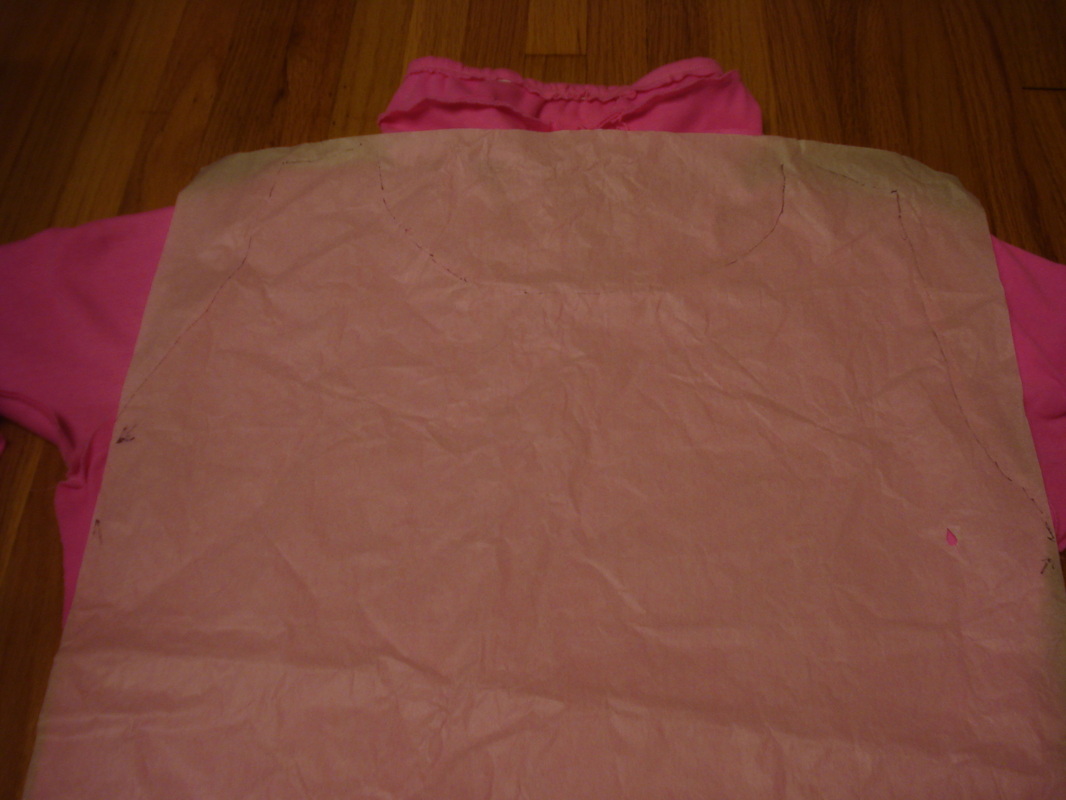
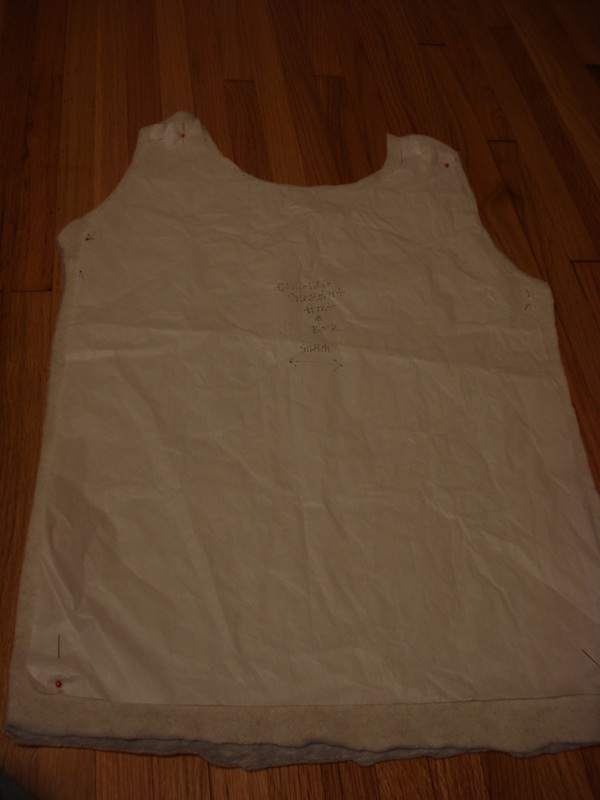
1. This is the second sweatshirt I have made and since I was giving this one away I decided to make a pattern of sorts in case I want to make another one at some point...which I definitely do!! For the pattern, I used tissue paper and traced over another sweatshirt.
1. This is the second sweatshirt I have made and since I was giving this one away I decided to make a pattern of sorts in case I want to make another one at some point...which I definitely do!! For the pattern, I used tissue paper and traced over another sweatshirt.
2. Next I cut out the pieces from......get this..... my thrift store find fabric!!! Whoot whoot!! It is not often that I find up-to-date fabric that does not look like leftover remnants from grandma's davenport reupholster project 20 years ago. And no, Meesh, it's not pink...it's yellow and gray! ;-)
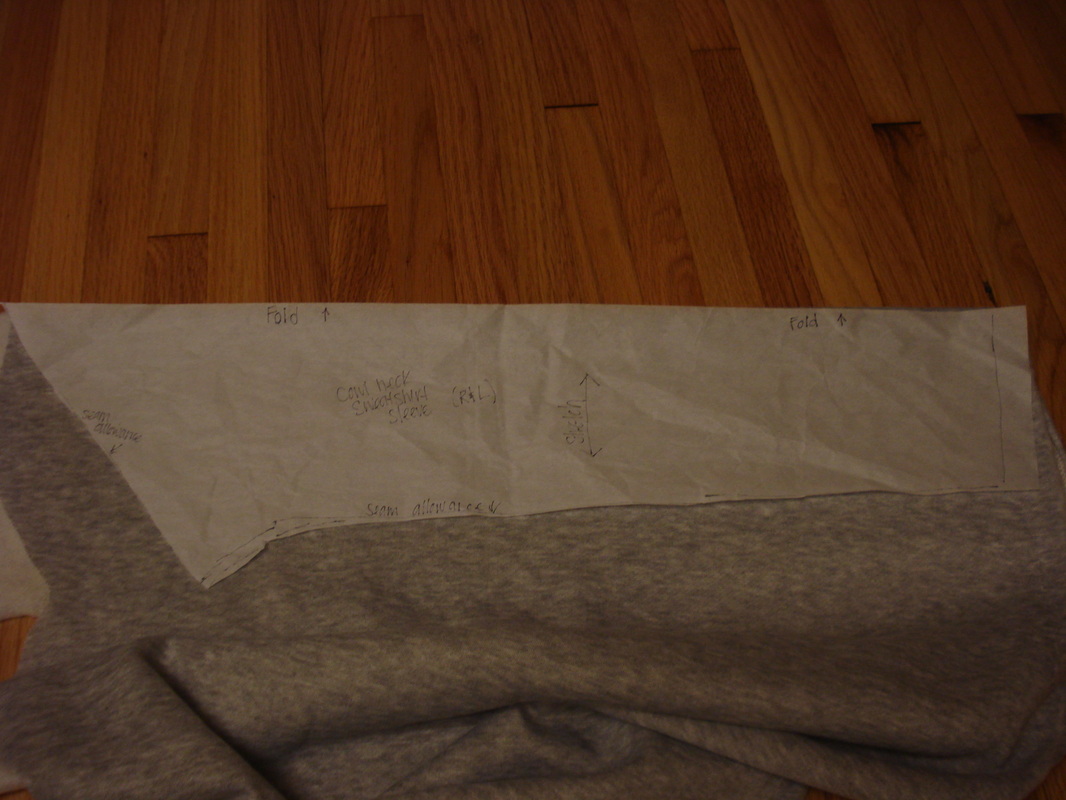
3. For the sleeves you can see that I put the top part of my pattern on the fold so the only seam is under the arm. This probably isn't anything new to some of you...but when I realized this it was like Christmas morning opening my moon shoes at age 9!
4. The picture below shows the 2 waistband pieces cut out. You can see that the bottom is on the fold as well.
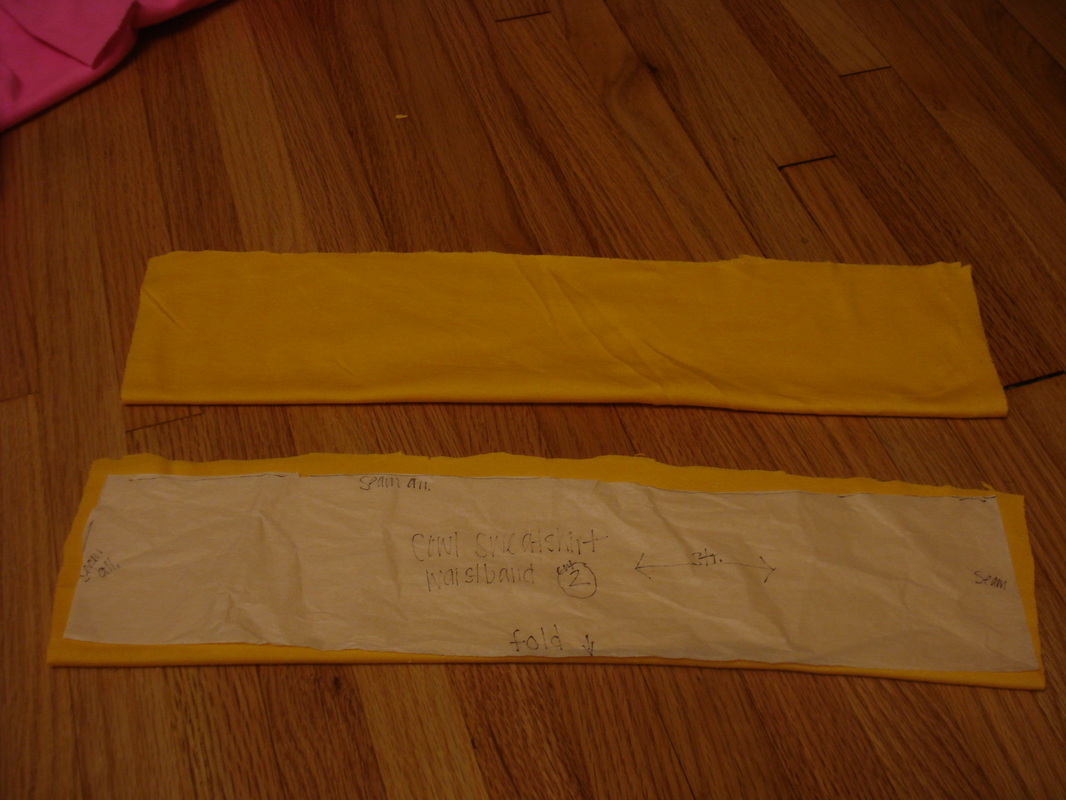
5. Sew one waistband piece to the front and one to the back. Note, you line up the raw edges of both the waistband and the front and back pieces. Place the waistband on top of the ride side of the front and back pieces ( It looks like my picture might be wrong...sorry).
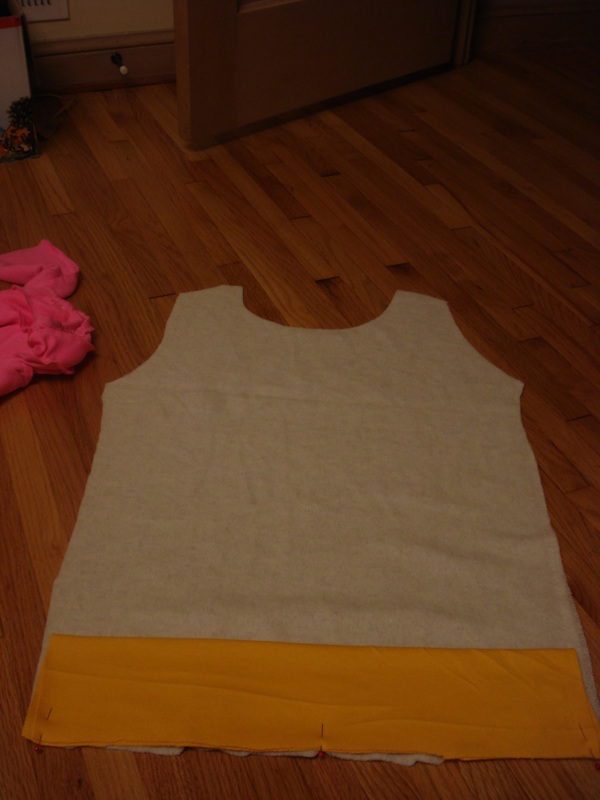
This is what you will have up to this point:
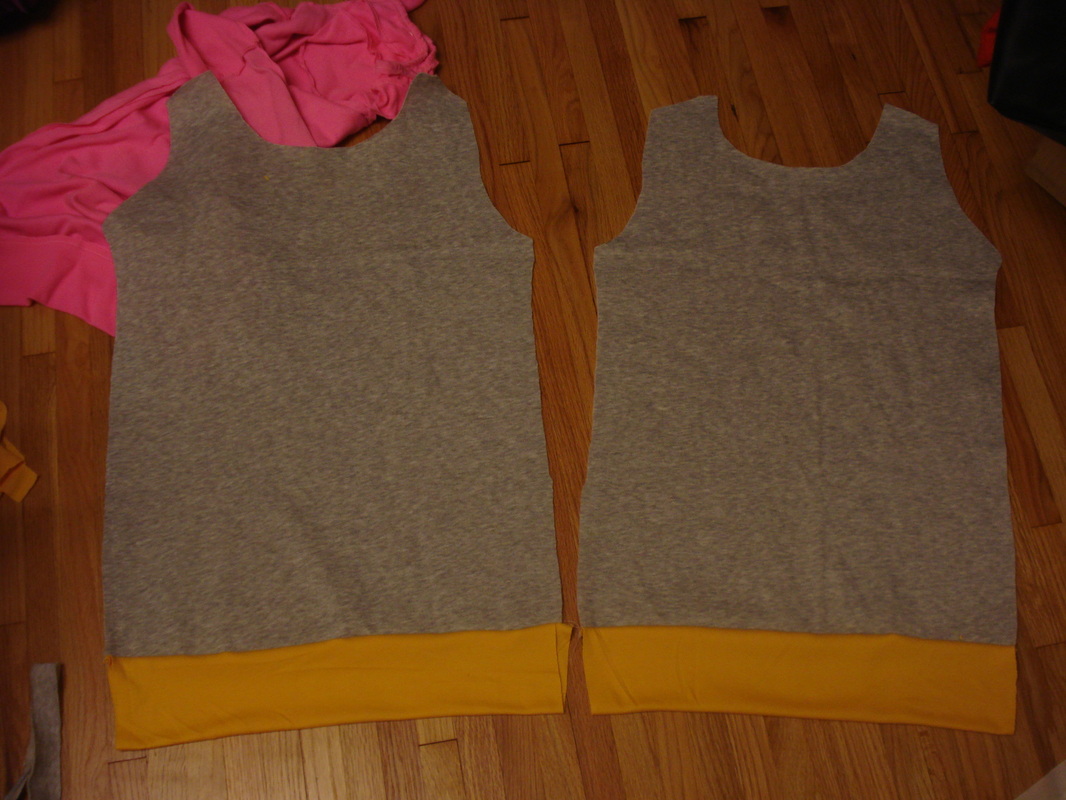
6. Next, I sewed the arms on. Hard to explain, but I sewed kind of around in a circle. Always sew the right sides together, pin half of the sleeve (making sure the fold is at the top of the shoulder opening) to one side of the FRONT piece. Then sew the other half of that sleeve to the BACK piece. Trust me, at this point I usually sit and stare at my work and do some talking to myself... hopefully the pictures below will help:
The picture directly above is what you should have after sewing the sleeves to the front and back pieces.
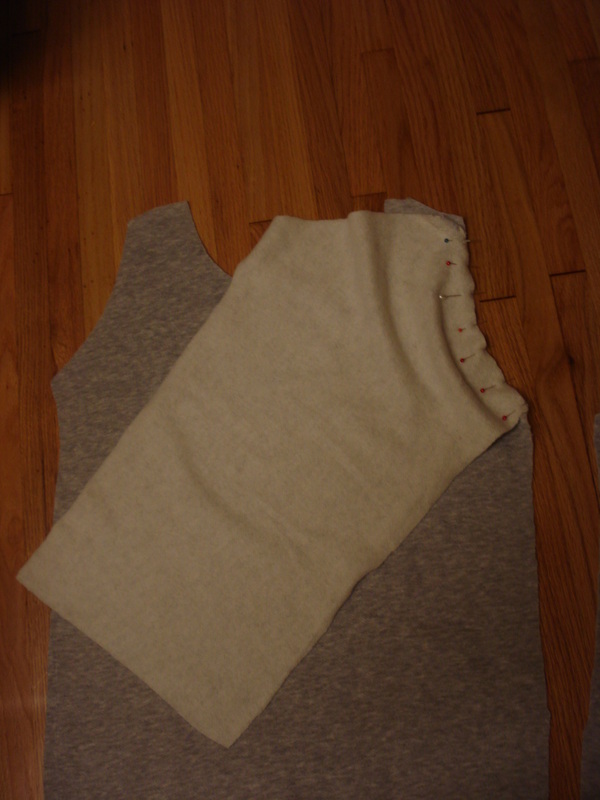
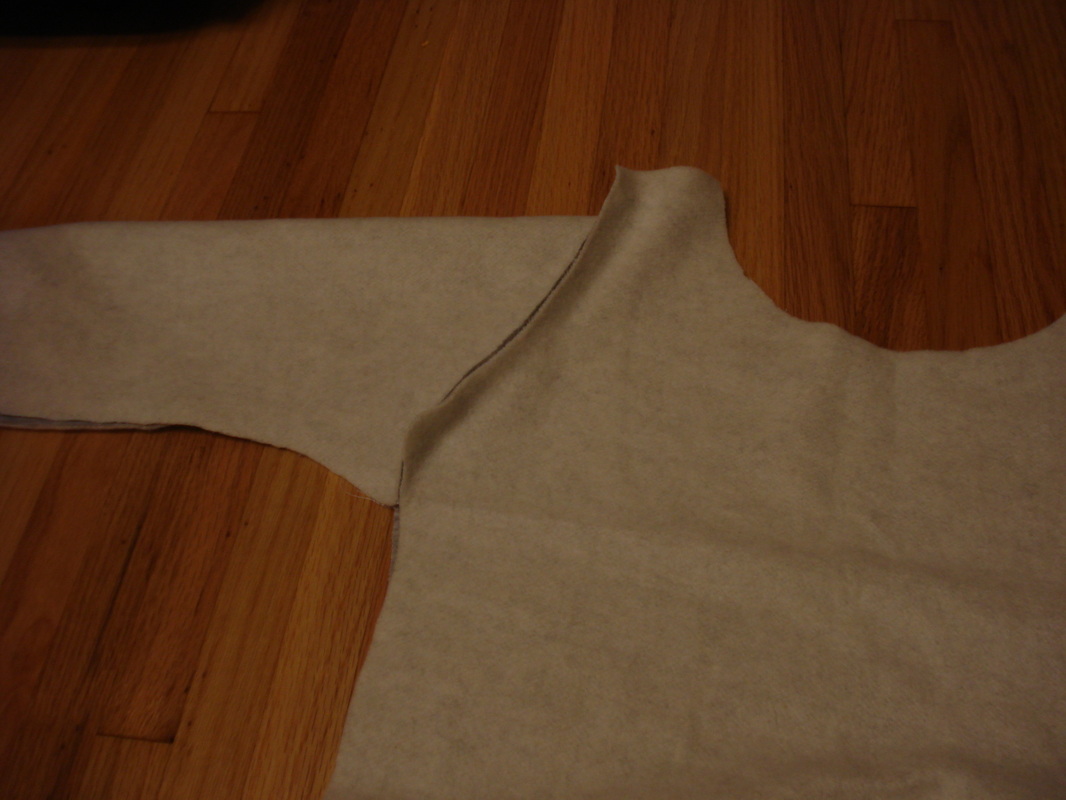
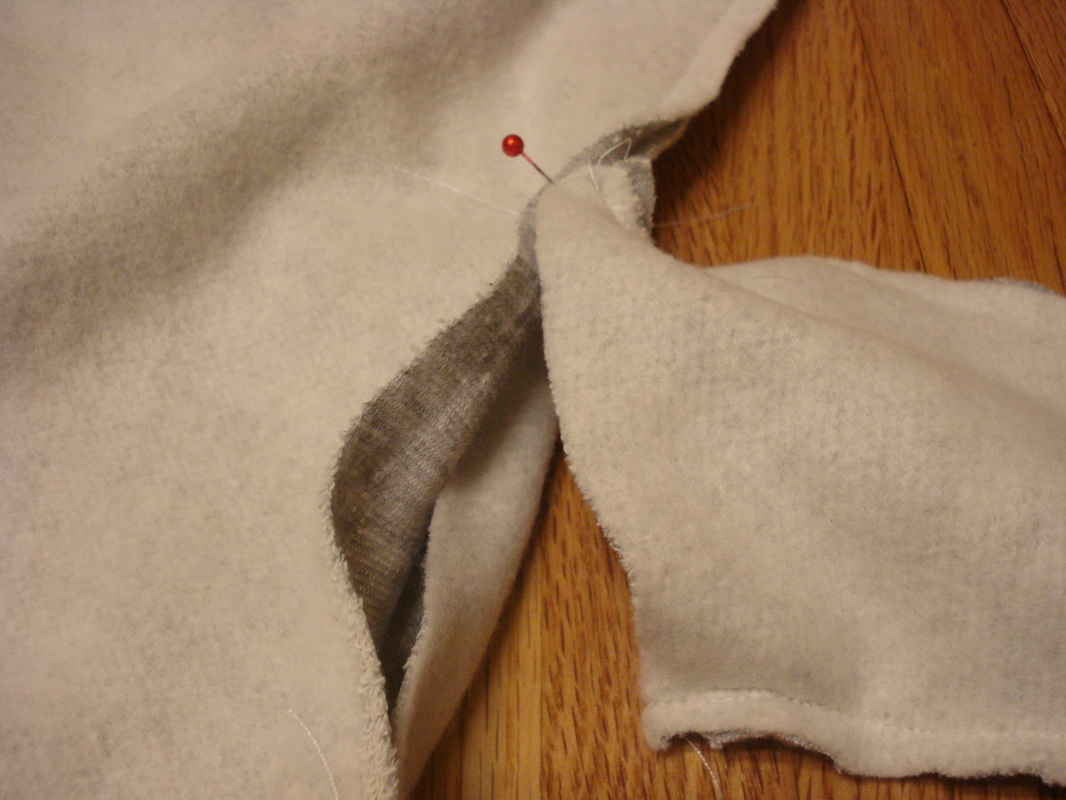
7. Next cut a piece for the collar. Notice it is doubled up with the fold on the bottom like the waistband. OK, here is where I have to apologize. This is the point where I got excited because it was the creative part of the project and so I took far less pictures... so sorry! I will try and remember what I did in my creative blackout period. It looks like the collar piece was about 28 inches long, that was probably the length of around the neckline...? How's that for exact. :-/ You should note that the sweatshirt I used as a pattern had a kind-of turtle/cowl neck... so the neckline was wider than normal.
7. Next cut a piece for the collar. Notice it is doubled up with the fold on the bottom like the waistband. OK, here is where I have to apologize. This is the point where I got excited because it was the creative part of the project and so I took far less pictures... so sorry! I will try and remember what I did in my creative blackout period. It looks like the collar piece was about 28 inches long, that was probably the length of around the neckline...? How's that for exact. :-/ You should note that the sweatshirt I used as a pattern had a kind-of turtle/cowl neck... so the neckline was wider than normal.

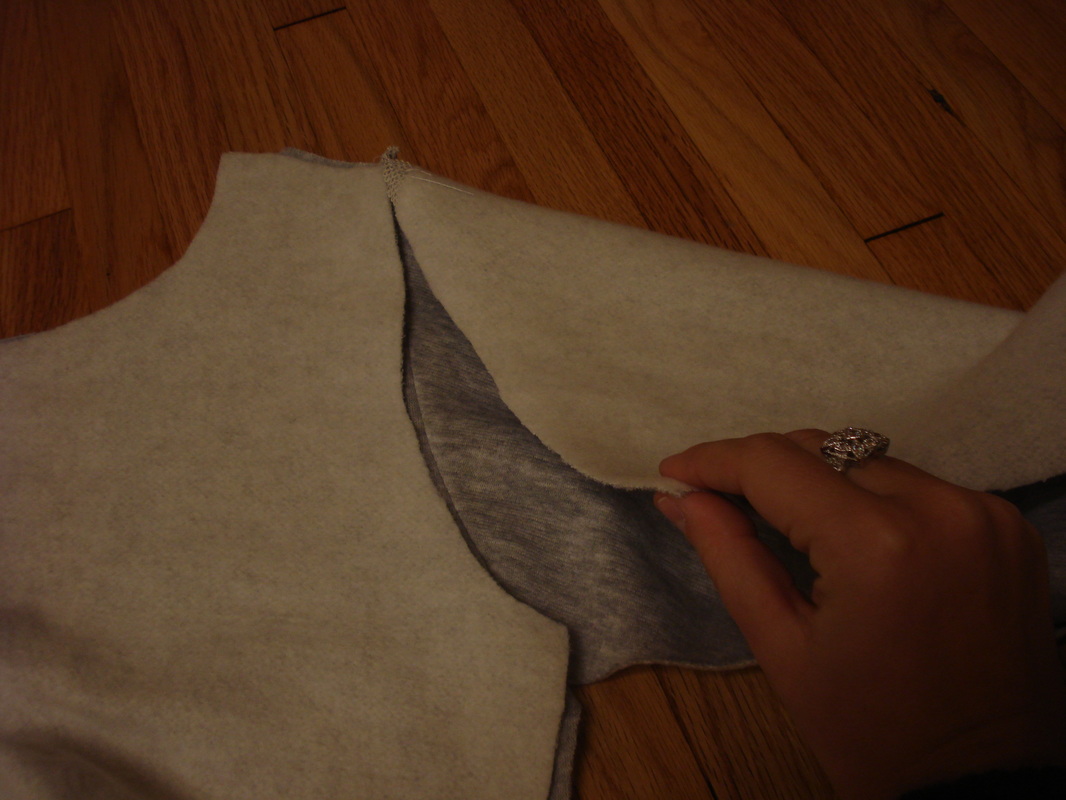
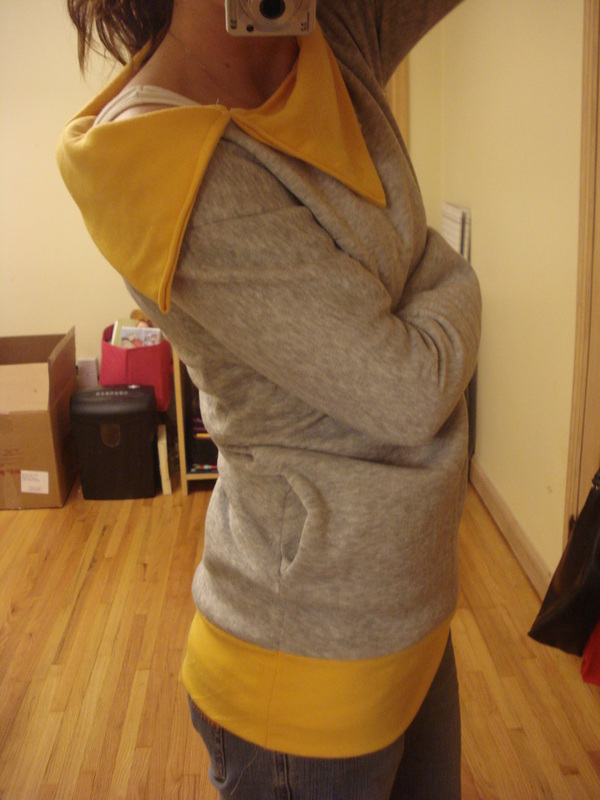
8. Sew... :) it looks like I hemmed the two short ends of the collar and then turned under the long raw edges as I sewed the collar to the right side of the neckline. I started the collar off center in the front. I was going to have a button closure to make a big stand up collar....but the yellow fabric was not stiff enough (and I have yet to experiment with fusible fleece or whatever that stuff is) so it became a "lay-down" collar ;-) But like I said, I LOVE it!!
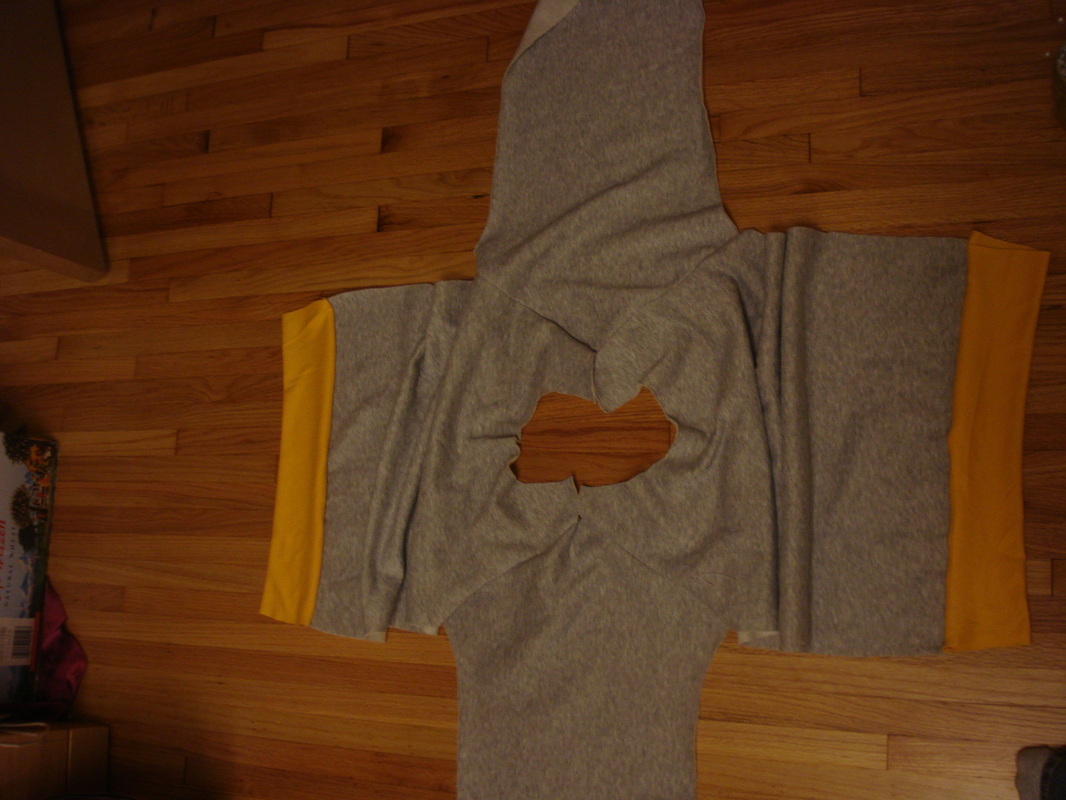
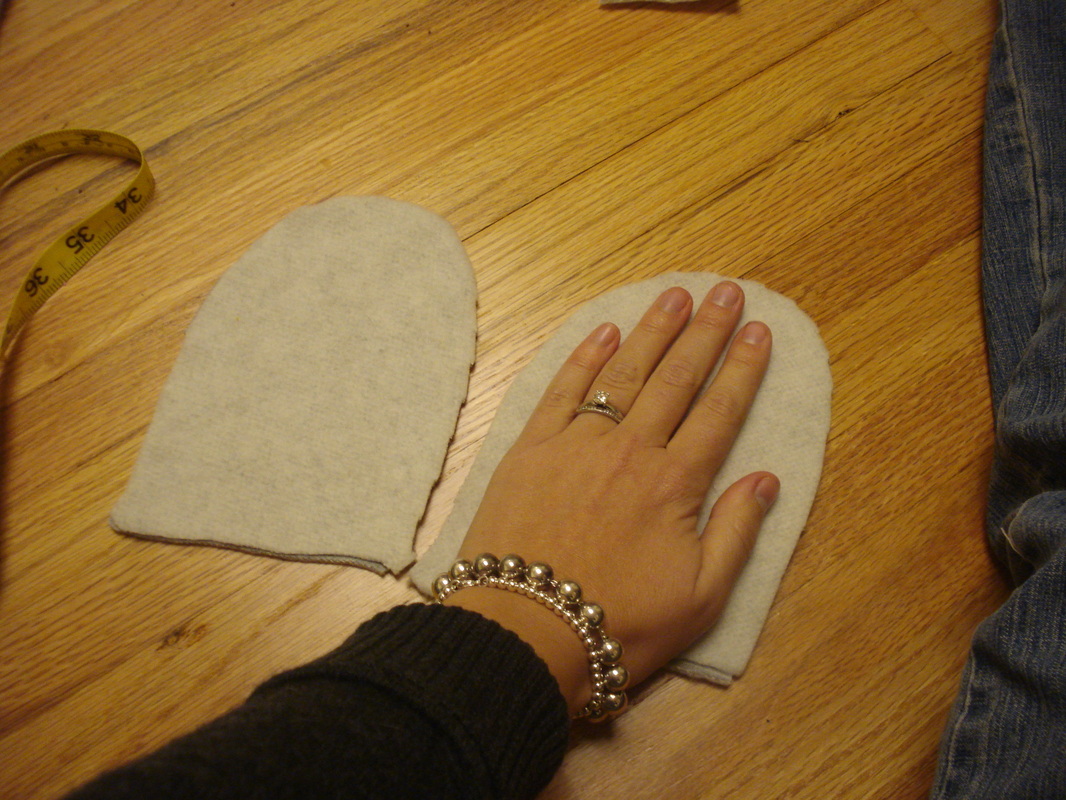
9. MY FIRST POCKETS!! Before sewing the front to the back, I decided I wanted to take a shot at pockets. So I cut out four pieces about the size of my hand.
10. Ugh, sorry to say I can't really remember how I sewed the pockets to the sweatshirt. The picture below I think is showing that I placed pins at the top and the bottom of where I wanted the pockets and sewed the side seams all the way up the arm, but not where the pockets will go. I must have done some sitting, thinking and self conversing to figure out how to sew the pockets on after sewing the sides together.
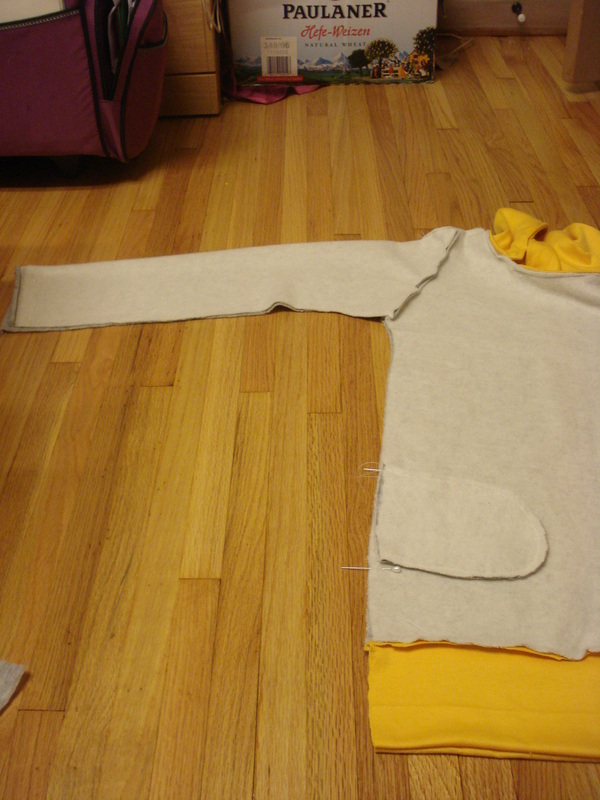
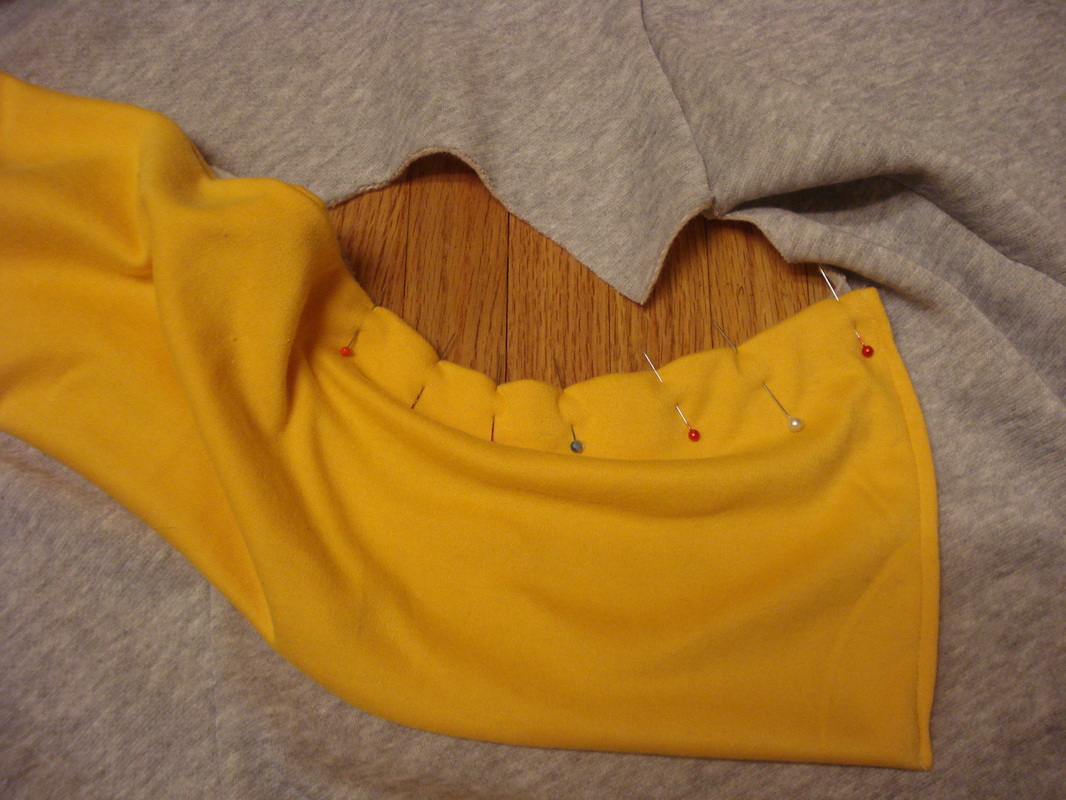
11. Below on the right is the pocket. I sewed the right sides together around the curved sides of both pocket pieces and then sewed the two straight edges right sides to the right sides of the bodice.
12. Add wrist pieces just like the waistband pieces if you want....and then snap out of your creative blackout and admire your work! And then in my case, give it away... :( I can't wait to make more and play with different collars/necklines, embellishments, types of fabric.... the wheels are turning!!

 RSS Feed