With my sewing machine still out of commission I have no new crafts to post about! So here is a quick post about some fun & functional "doors" I made for a shelf in my craft room. I got an Ikea expedit shelving unit from my mom and decided that all of the little cubbies were perfect storage for all of the fun creative trinkets going in my new sewing room! However, not all crafting supplies are as cute as I'd like them to be. I really didn't want to stare at the plastic Mod Podge bottles with the dried flacky glue dripping down the side. I'd like to quote a passage that really resignated with me from The Happiness Project by Gretchen Rubin about organizing in relation to happiness:
"...it was more satisfying when each item went in a highly specific location. One of life's pleasures is to return something to its proper place; putting the shoe polish on the second shelf in the linen closet gave me the archer's satisfaction of hitting a mark."
Um yes, I share the same elation when I get to put something in its special spot, or in the perfect size container! Crazy, but that contributes to my happiness. Now, do I teach the hubby to share this same passion, or admit that will never happen... ;-)
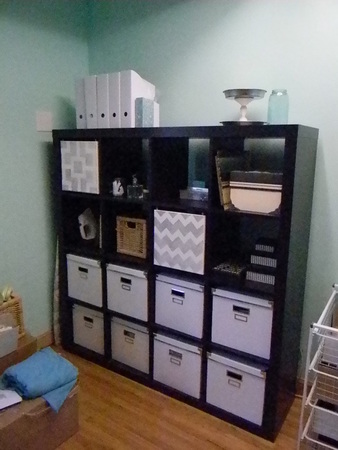
Needless to say I was very excited to have the shelving unit with 12 small separate storage spaces... one for glue, one for ribbon, etc.!! But like I said, some things I didn't want to necessarily see on a daily basis. Baskets were an option...but baskets are expensive and they attract dumping. Ikea sells drawers that fit the squares but those also would not fit into my miniscule budget I had set for myself for this craft room makeover. I turned to one of the very first blogs I ever fell in love with, ikeahacker.net and found my solution:
Needless to say I was very excited to have the shelving unit with 12 small separate storage spaces... one for glue, one for ribbon, etc.!! But like I said, some things I didn't want to necessarily see on a daily basis. Baskets were an option...but baskets are expensive and they attract dumping. Ikea sells drawers that fit the squares but those also would not fit into my miniscule budget I had set for myself for this craft room makeover. I turned to one of the very first blogs I ever fell in love with, ikeahacker.net and found my solution:
Yay!! Two of my favorite things harmonizing together: (1) Art & (2) Organization! And it was very easy and inexpensive.
Materials:
12 X 12 canvases from Michaels (came in a 2 pack and I used a 40% coupon)
Hooks & Eyes from Home Depot (2 for each door) Make sure they are not longer than the thickness of the shelf.
Paint (or other mediums to decorate your canvases)
How To:
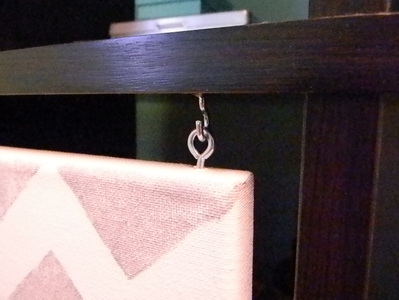
1. Measure where you want to screw the hooks into the top of the square you want the door on. I think it was about 1 inch from each side. I marked on a piece of painters tape. Screw in the hooks into the bookshelf.
2. Hold up the canvas to the hooks on the shelf and mark where the eyes will go on the canvas. Screw the eyes into the top of the canvas.
Materials:
12 X 12 canvases from Michaels (came in a 2 pack and I used a 40% coupon)
Hooks & Eyes from Home Depot (2 for each door) Make sure they are not longer than the thickness of the shelf.
Paint (or other mediums to decorate your canvases)
How To:
1. Measure where you want to screw the hooks into the top of the square you want the door on. I think it was about 1 inch from each side. I marked on a piece of painters tape. Screw in the hooks into the bookshelf.
2. Hold up the canvas to the hooks on the shelf and mark where the eyes will go on the canvas. Screw the eyes into the top of the canvas.
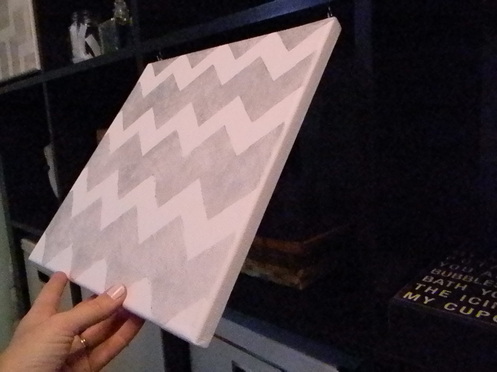
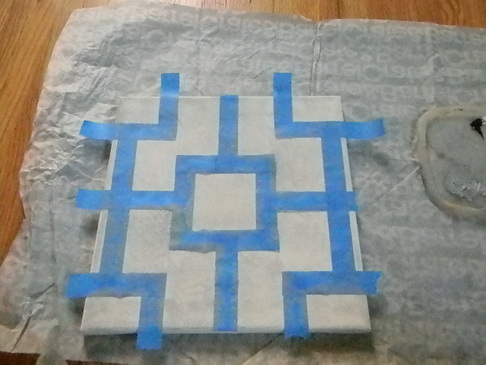
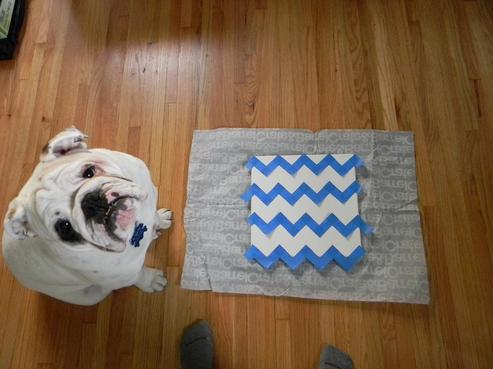
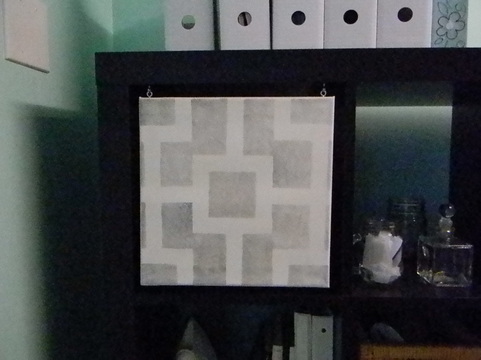
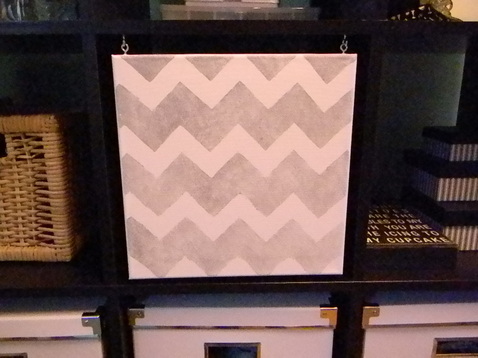
3. Now it's time to have fun with the canvas! I painted mine with acrylic paint. I kept a simple pattern because the rest of the shelves might be full and busy so I wanted these doors to be more muted and calm. I simply put painters tape on the canvas in a design and then sponge painted on the grey. Poof done! I love how it turned out and only doing two was my way of being quirky and artistic.
 RSS Feed