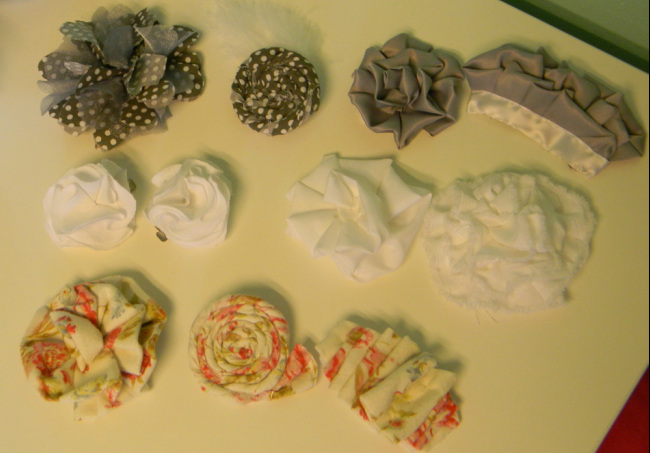
Making fabric flowers & headbands was one of my very first sewing endeavors two years ago when I was just starting with the DIY wedding shenanigans. I made hundreds (well maybe like 25) different flowers in attempts to perfect my wedding dress sash. I now have a few different fabric flowers that are my "go-to's" when it comes to headbands & hair clips. Here are a few tips about fabric flowers I have learned along the way:
Fabric Flower Tip #1: Think about thickness & stiffness. (hahahah, sorry)
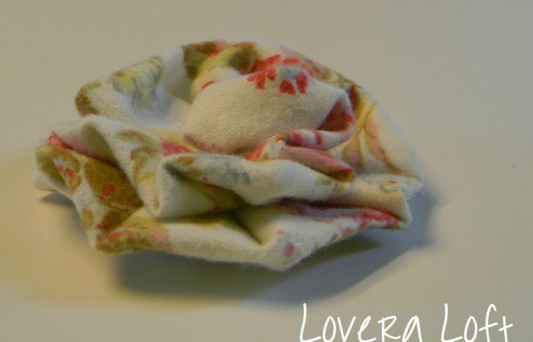
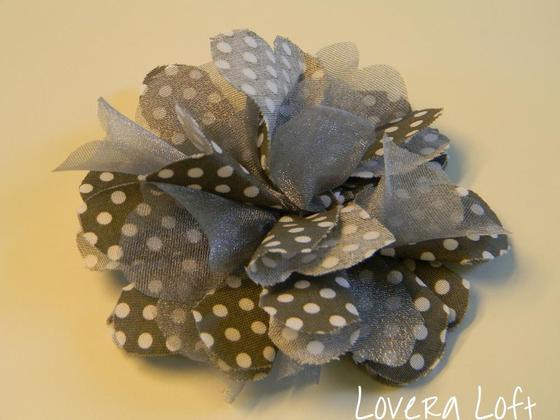
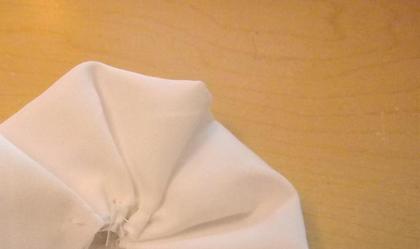
For example, using a thing sheer chiffon makes for a really pretty, light flower. However, you will need to use more of it to make the flower stand up on its own, or to have any shape. If you are using a "layering-circle" technique you will need a lot of little circles. If you are using a "folded-strip" technique you will need a long strip of fabric. A really stiff fabric, like flannel or a stiff satin, you will need less of it because it will stand up on its own.
Fabric Flower Tip #2: Think about fraying.
Many fabrics will fray if you don't hem the edges...and I definitely don't recommend spending time hemming for a fabric flower. One wedding dress sash I made I used a fabric that frayed like crazy and when I was done all I could envision was me pulling gray threads off my dress all night!! Ahhhh...nightmare!! So here is my rule of thumb. If it is a fabric that frays a lot then I use my "folded-strip" technique or the "rolly-polly" technique. This way the raw edges get tucked underneath or rolled up and you don't see them. If it is a fabric that doesn't fray very much than you can use most any other technique.
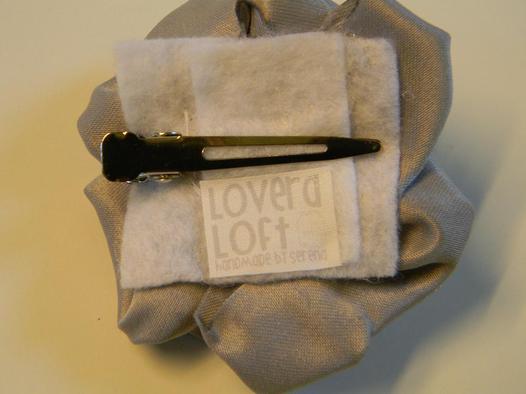
Fabric Flower Tip #3: Use a felt square backing.
My first attempts with flowers I tried to make the flower by sewing it "onto itself", which works... but now I use start with a little square of felt and sew the fabric onto the square. This seems to work better, you end up having a large piece to work with at the end to attach your flower to a headband or clip when it's finished.
Fabric Flower Tip #4: Make it a clip.
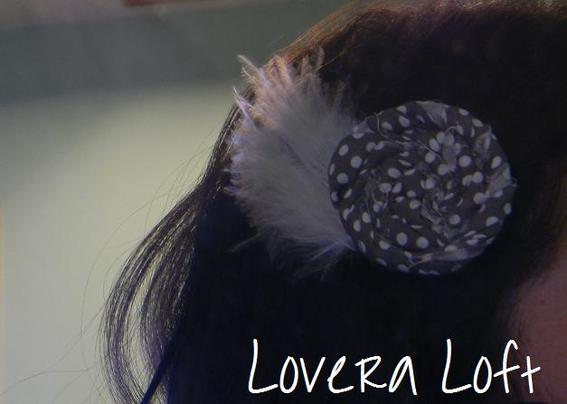
This idea occurred to me when I was making my flower girl headbands. I was not sure if the girls would want a hard headband or just a ribbon with an elastic in the back. Which would be more comfortable and which would stay in place? So, I decided to put the flower on a clip and then they could choose which headband to clip it to. I know not everyone is blessed with thick, course hair like me; which is ideal for headband wearing... ;-) So, now I make all the flowers on clips so that people can either clip it to a little headband or clip it right in their hair!
Fabric Flower Tip #5: Be creative & make mistakes!!
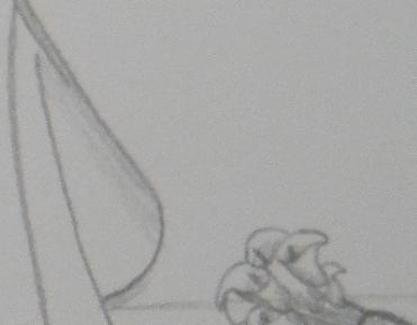
The blessing with making flowers is that you can just use whatever scraps you have laying around the house, so if it doesn't turn out, no money wasted, no harm done! I cut up T-shirts, use coordinating different scraps from separate projects, whatever! Cut different shapes, fold in different manners, add jewels, buttons, feathers, glue instead of stitch...anything goes!
Fabric Flower Tip #1: Think about thickness & stiffness. (hahahah, sorry)
For example, using a thing sheer chiffon makes for a really pretty, light flower. However, you will need to use more of it to make the flower stand up on its own, or to have any shape. If you are using a "layering-circle" technique you will need a lot of little circles. If you are using a "folded-strip" technique you will need a long strip of fabric. A really stiff fabric, like flannel or a stiff satin, you will need less of it because it will stand up on its own.
Fabric Flower Tip #2: Think about fraying.
Many fabrics will fray if you don't hem the edges...and I definitely don't recommend spending time hemming for a fabric flower. One wedding dress sash I made I used a fabric that frayed like crazy and when I was done all I could envision was me pulling gray threads off my dress all night!! Ahhhh...nightmare!! So here is my rule of thumb. If it is a fabric that frays a lot then I use my "folded-strip" technique or the "rolly-polly" technique. This way the raw edges get tucked underneath or rolled up and you don't see them. If it is a fabric that doesn't fray very much than you can use most any other technique.
Fabric Flower Tip #3: Use a felt square backing.
My first attempts with flowers I tried to make the flower by sewing it "onto itself", which works... but now I use start with a little square of felt and sew the fabric onto the square. This seems to work better, you end up having a large piece to work with at the end to attach your flower to a headband or clip when it's finished.
Fabric Flower Tip #4: Make it a clip.
This idea occurred to me when I was making my flower girl headbands. I was not sure if the girls would want a hard headband or just a ribbon with an elastic in the back. Which would be more comfortable and which would stay in place? So, I decided to put the flower on a clip and then they could choose which headband to clip it to. I know not everyone is blessed with thick, course hair like me; which is ideal for headband wearing... ;-) So, now I make all the flowers on clips so that people can either clip it to a little headband or clip it right in their hair!
Fabric Flower Tip #5: Be creative & make mistakes!!
The blessing with making flowers is that you can just use whatever scraps you have laying around the house, so if it doesn't turn out, no money wasted, no harm done! I cut up T-shirts, use coordinating different scraps from separate projects, whatever! Cut different shapes, fold in different manners, add jewels, buttons, feathers, glue instead of stitch...anything goes!
Yay! Does anyone else like to wear headbands? Usually day 3 after not washing my hair is a headband day for me... haha. Now grab some scraps and get creative!!!


 RSS Feed