
Another St. Patrick's Day sewing adventure, however, this year wins with only taking about 2 hours versus last years 10+ hours for the leprechaun jumper! I decided that I wanted to take a t-shirt from hubby's company, since we will be with them on St. Patty's, and make a peplum shirt! I researched for a while on Pinterest and Google but the only tutorials were using non-stretch + a zipper and I didn't want to mess with a zipper. The other tutorials used regular thread, but I was worried it wouldn't stretch enough. So I decided to come up with my own way to make a peplum and it worked pretty well! The only thing I might change is to shorten the peplum part, me and my long torso... I am not a fan of "too short shirts", but as of now it looks a little too toddler dress, ha!
Here is what I did:
Here is what I did:
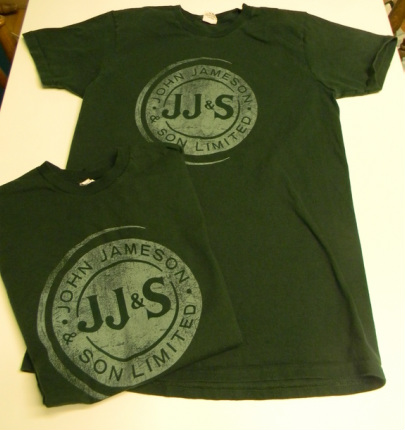
1. I started with 2 women's large t-shirts. I used one for the bodice and peplum, and the other for the other half of the peplum.

2. Cut off the bottom of shirt #1. Mine was 8" down from the armpit I think.
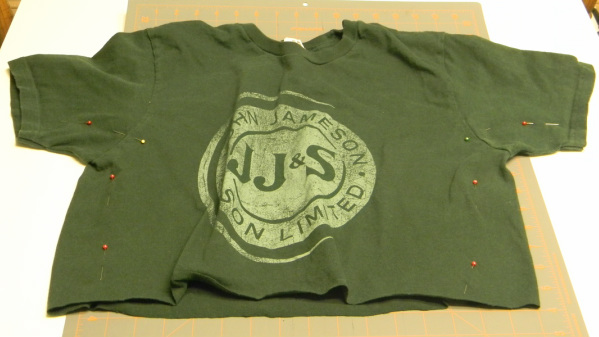
3. Taking the top in: Put the shirt on (inside out...which I didn't do the first time...) and pin close to your body on the sides and under your arms. You can see that the front piece is bunchier because your front is usually a little bit bigger than your back (barely in my case). ;-) Sew along the pin lines (again, with right sides together, inside out).
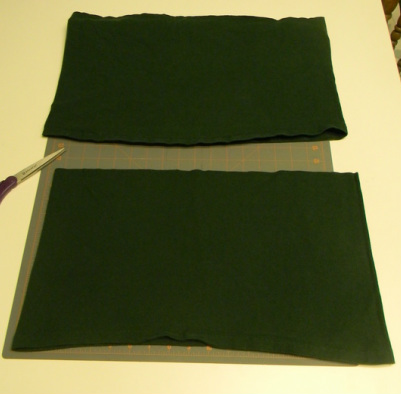
4. Now on to the peplum part. Take the bottom you cut off from t-shirt #1 and do the same with t-shirt #2. So now you have two of the same size piece. Open up each "circle" on one side so you have two very long rectangles.
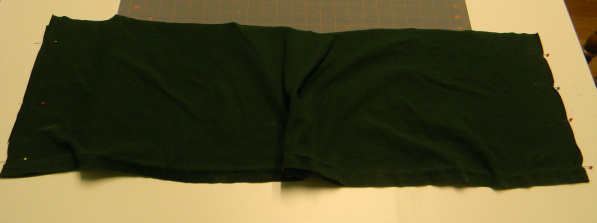
5. Lay your two long rectangles on top of each other right sides together. Pin and sew together along the two short ends to create your long circle for your peplum!
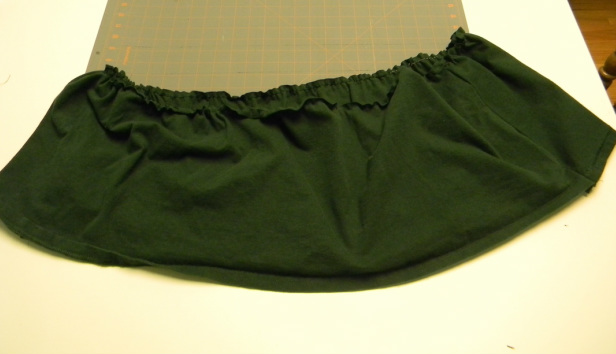
6. Here is where I used my elastic thread in my bobbin. I just wanted to be sure that this would still stretch since it was hitting me at the smallest point of my waist. I might have been able to use a wide zig zag stitch and normal thread, but I didn't want to chance it. So I sewed a straight stitch all the way around the top of my circle with normal thread on top and elastic on the bobbin. This gathered it in a bit as you can see above.
7. Pinning and centering: Here is a trick my Momma taught me about adjoining to pieces that are drastically different lengths. On both pieces (the shirt bottom, and the peplum top) find the center front and center back by matching the side seams and folding in half. Mark with pins.
Find and mark the following on the bottom of the shirt and the top of the peplum:
between center front pin and left side seam
between center front pin and right side seam
between center back pin and left side seam
between center back pin and right side seam
Find and mark the following on the bottom of the shirt and the top of the peplum:
between center front pin and left side seam
between center front pin and right side seam
between center back pin and left side seam
between center back pin and right side seam
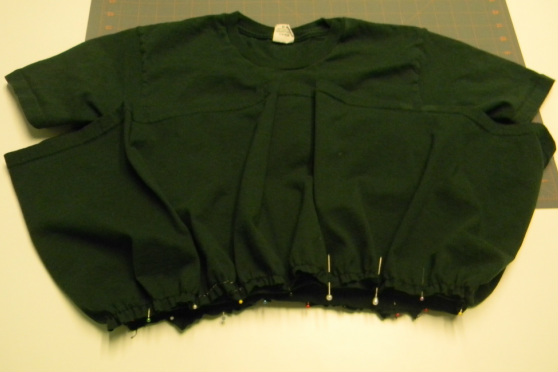
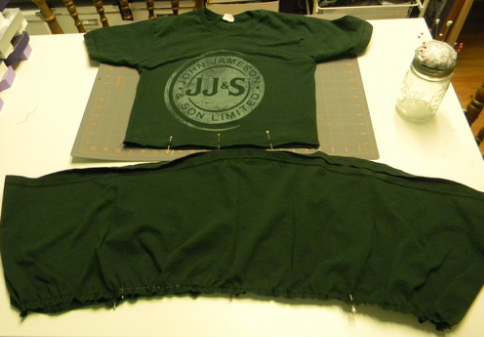
8. Now slip the peplum over the shirt, right sides together, matching up the two rough edges. The peplum is upside down at this point. Match the pins all the way around and add a few more for good measure. So match the front center pins on both and match the sides seams, etc. Then sew (again I used elastic thread in my bobbin) around the whole thing, you may have to fold and tuck a little.. Also, sew "above" the first seam (closer to the top of the shirt) so that when it folds over you won't see the original sew line.
That's it! Now for some fun self timer pics :)
That's it! Now for some fun self timer pics :)


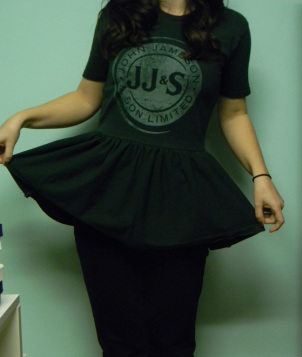
Hehe, had to do a vogue pose ;-)
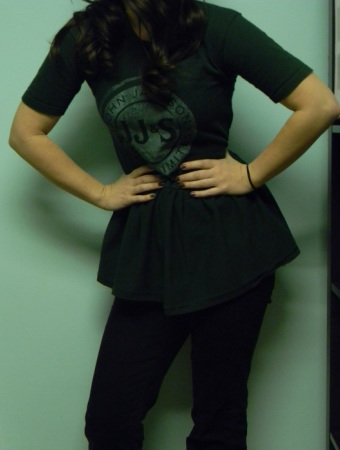
So what do you think, should I shorten the peplum a bit? Anyone else still get super excited to craft/dress up for holidays?!

 RSS Feed