"I wear your granddad's clothes...I look incredible." LOOOOVE Macklemore!! So, side note about this song, at my home away from home, MN Valley YMCA, we occasionally have a little something we like to call Friday Night Dance Party. My home girl, Jennie, puts together a hip hop dance that we learn all in one night. And then, naturally, we film ourselves for YouTube! Here is Jennie's channel: http://www.youtube.com/user/indyboxer I am excited to say that Thrift Shop by Macklemore might be our next venture and you'd better believe that I will be wearing some little treasure from the thrift shop for the booty shakin' fun!
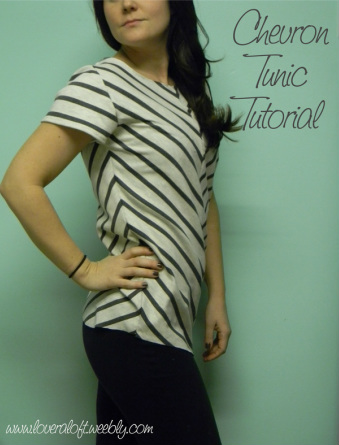
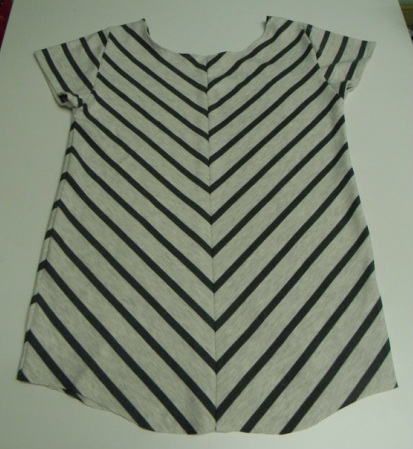
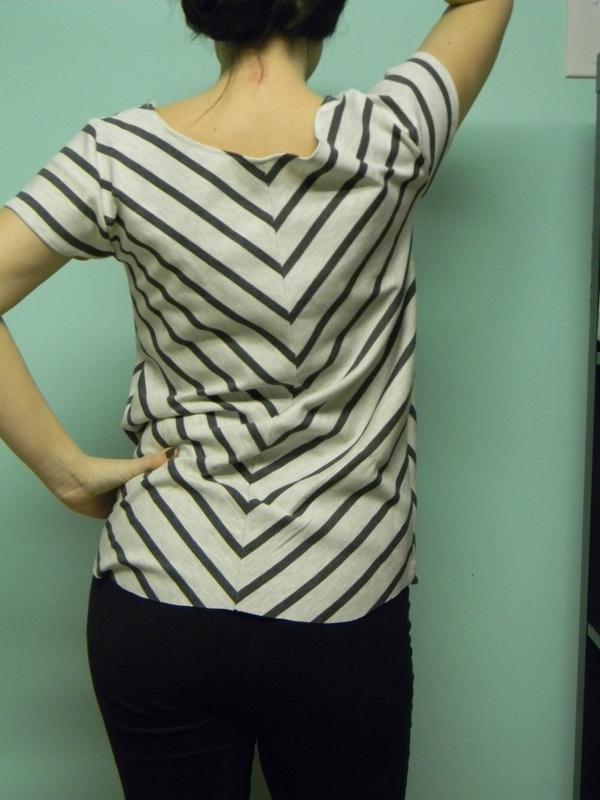
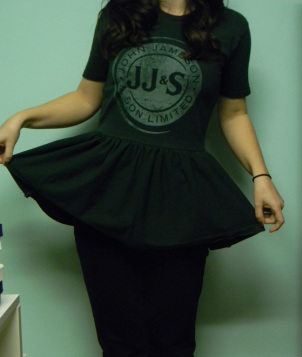
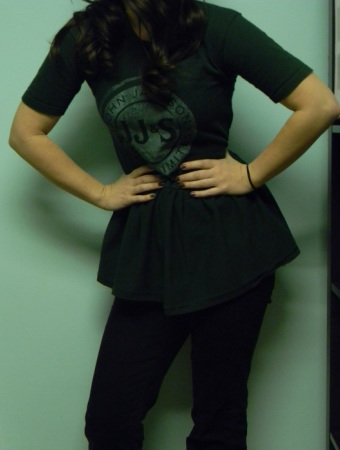
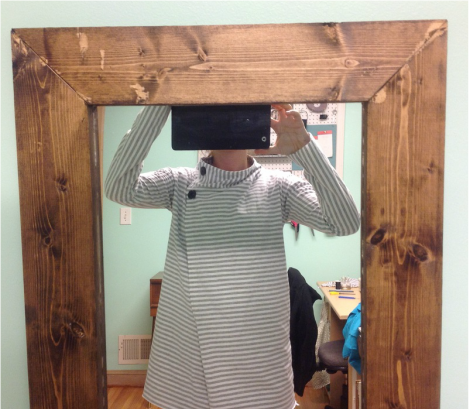
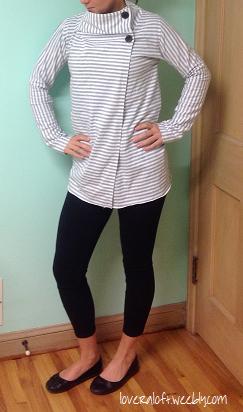
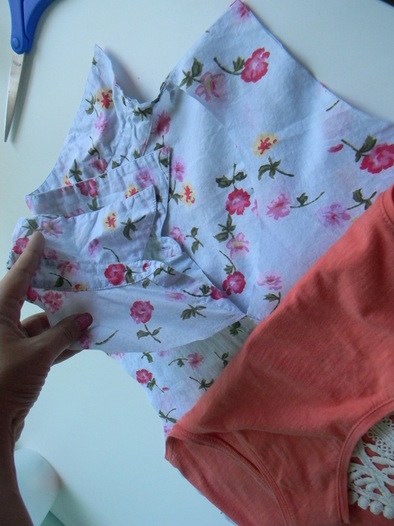
Why all the thrift shop talk? Well, this sweatshirt fabric was a fabulous find at one!! I think it was about 2.5 or 3 yards and $3.99? I struggled for a while on what to make with this thick jersey stretch material, besides your normal sweatshirt. I settled on short little cap sleeves, a longer length with a "baseball T" cut bottom, and piecing the stripes to make a chevron pattern! I really like how it turned out...the only thing I might alter is the bottom. I like the shape, but it hits a little tight on my hips and so I might turn it into a shorter more fitted bottom with a waistband. But for now, so comfy and I love how the stripes turned out!
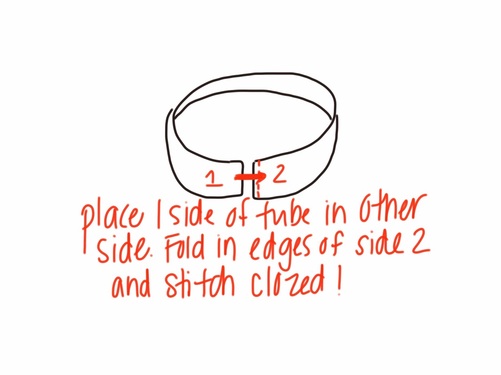
Here is my tutorial:
*Side Notes:
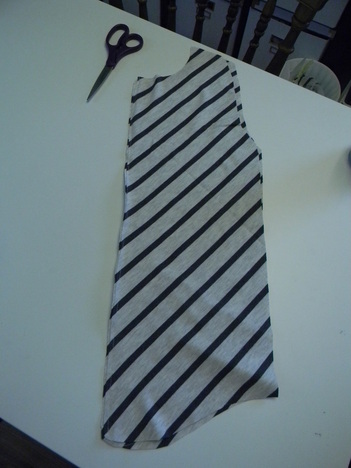
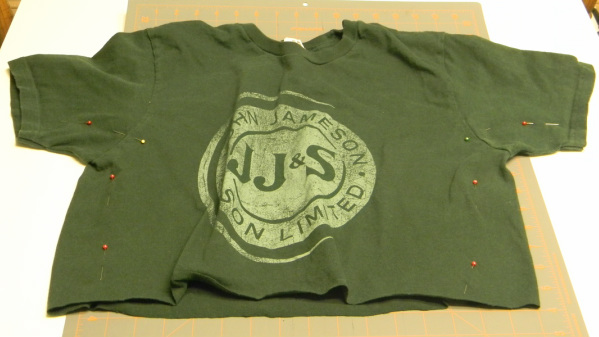
1. Place Pattern:
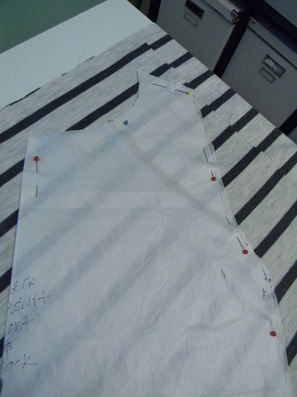
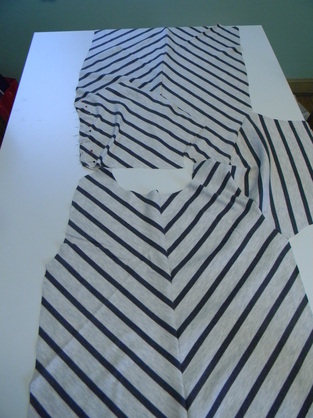
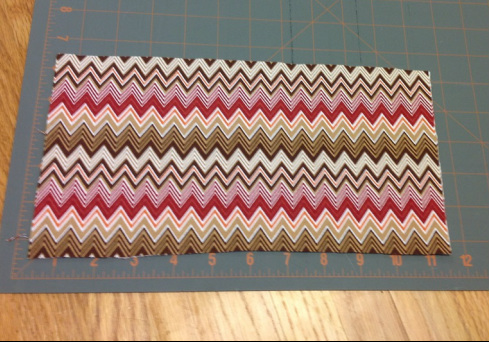
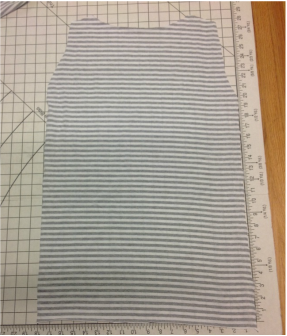
Fold the fabric lining up the stripes as best you can. Fold the sweatshirt pattern in half. Place the pattern on the fabric at an angle & pin in place. I also drew faint pencil lines on my pattern piece mimicking the lines on the fabric. I think this helped when cutting the back pieces.
Why all the thrift shop talk? Well, this sweatshirt fabric was a fabulous find at one!! I think it was about 2.5 or 3 yards and $3.99? I struggled for a while on what to make with this thick jersey stretch material, besides your normal sweatshirt. I settled on short little cap sleeves, a longer length with a "baseball T" cut bottom, and piecing the stripes to make a chevron pattern! I really like how it turned out...the only thing I might alter is the bottom. I like the shape, but it hits a little tight on my hips and so I might turn it into a shorter more fitted bottom with a waistband. But for now, so comfy and I love how the stripes turned out!
Here is my tutorial:
*Side Notes:
- This fabric was exactly the same on both sides, so I didn't pay attention to right/wrong sides as much.
- I used a pattern (tissue paper) that I had drawn from a previous sweatshirt I made.
1. Place Pattern:
Fold the fabric lining up the stripes as best you can. Fold the sweatshirt pattern in half. Place the pattern on the fabric at an angle & pin in place. I also drew faint pencil lines on my pattern piece mimicking the lines on the fabric. I think this helped when cutting the back pieces.
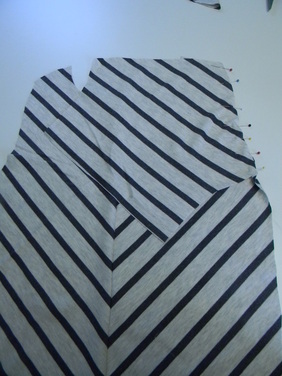
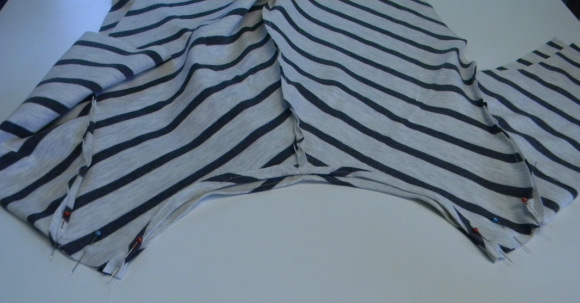
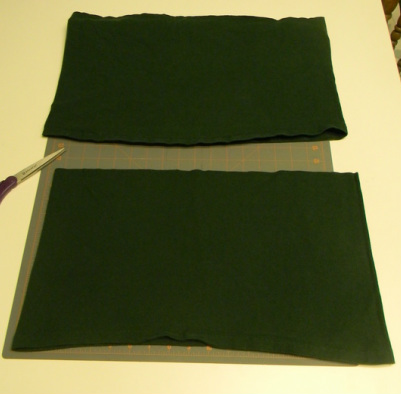
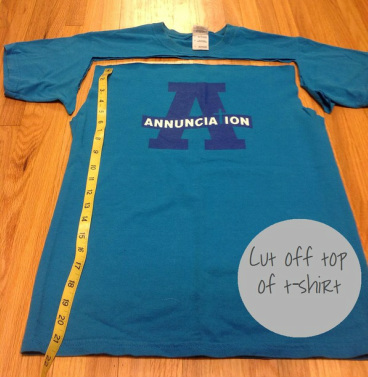
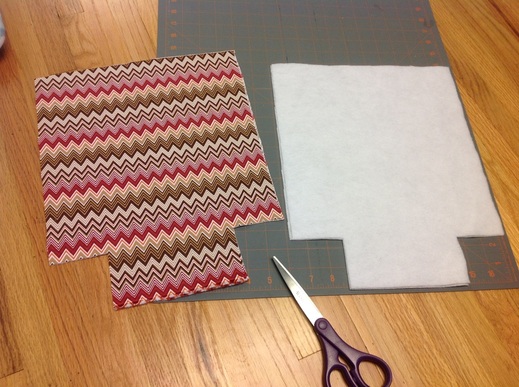
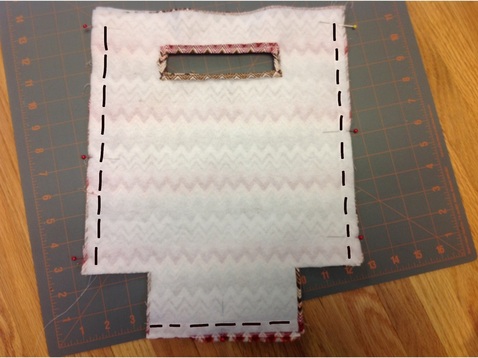
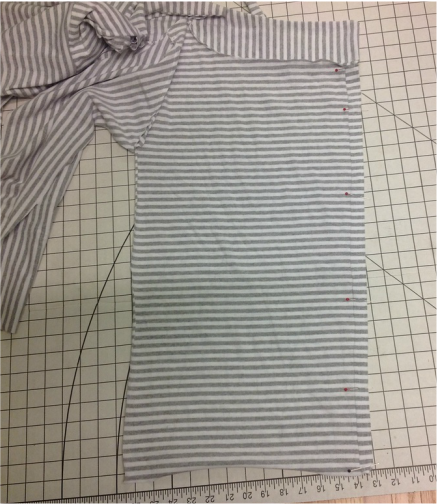
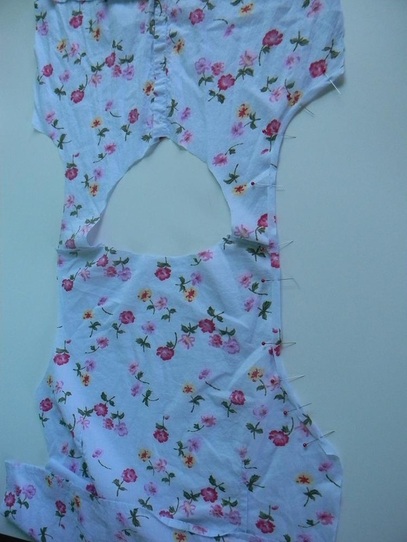
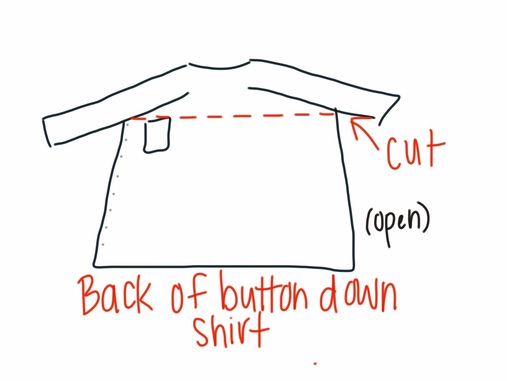
2. Cut front & Back pieces:
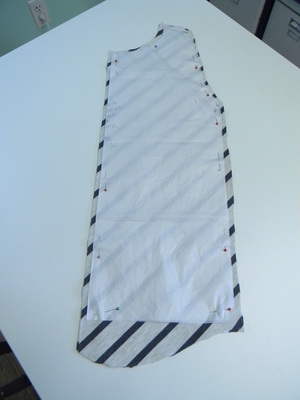
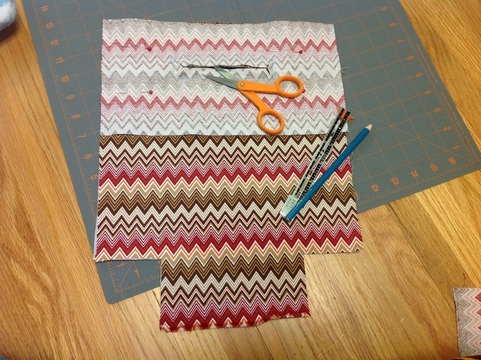
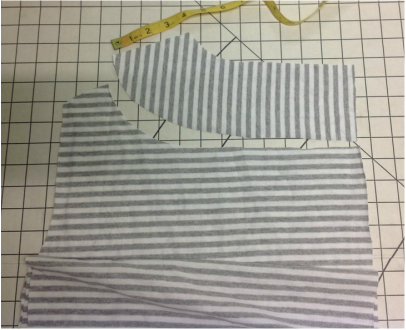
Cut around the pattern through both layers. This makes two front pieces. I cut lower in the front and higher on the sides. Also, see in my picture where it dips up again slightly on the left (front) well, later, I made that more straight so that it matches straight with the other front piece. Make sense? Otherwise it would come up like a little triangle framing your who-ha....not cute!
**Do this exact same thing for the two back pieces.
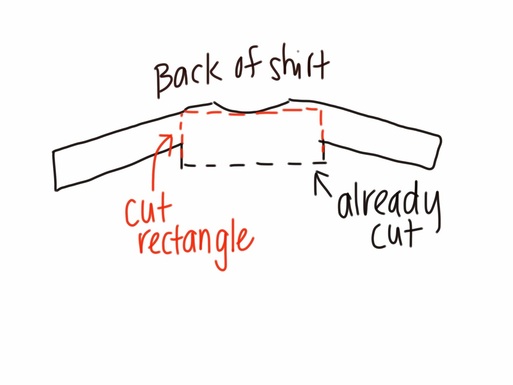
3. Cut out sleeves:
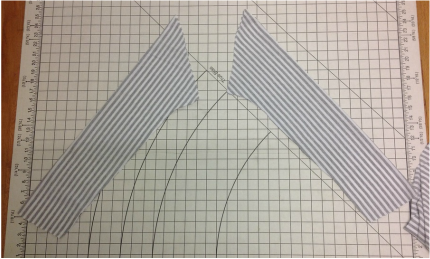
Take a sleeve pattern piece and place the top on the fold. Cut out two sleeves. I cut mine a little longer than I wanted so once I have it on I could adjust the length.
Take a sleeve pattern piece and place the top on the fold. Cut out two sleeves. I cut mine a little longer than I wanted so once I have it on I could adjust the length.
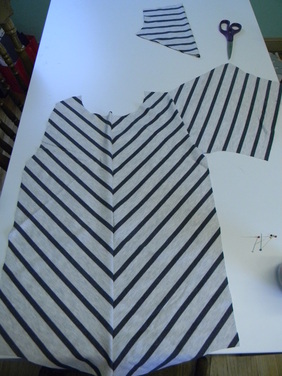
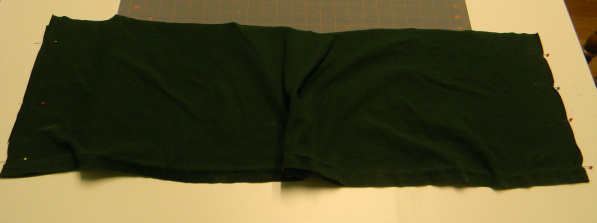
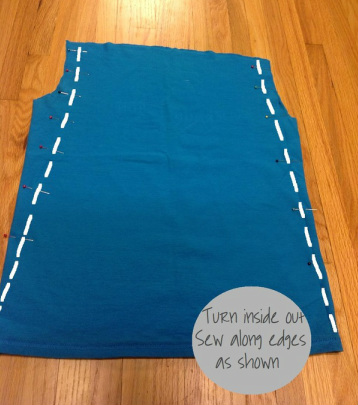
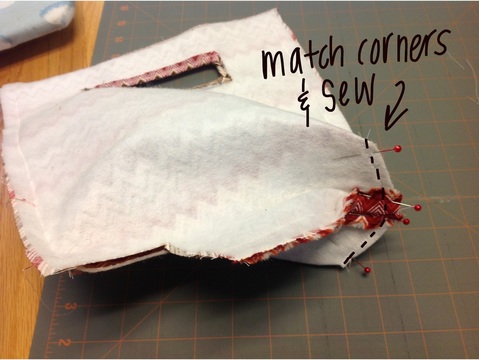
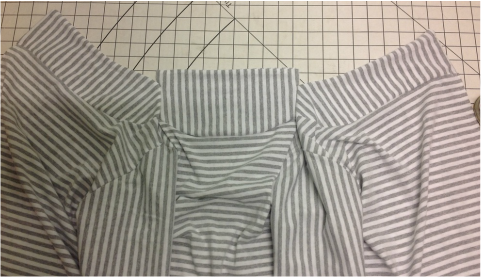
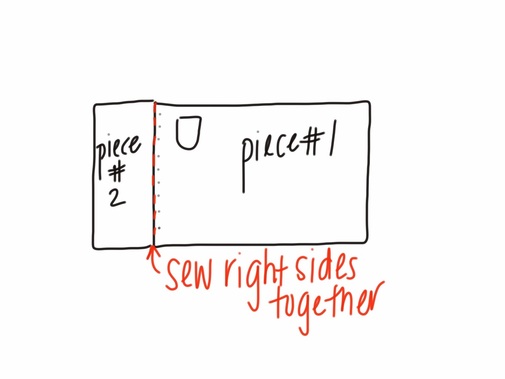
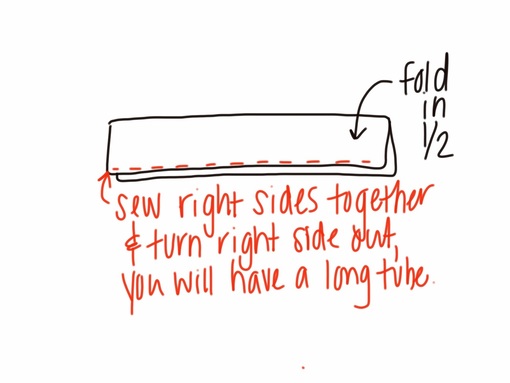
4. Sew the front pieces and back pieces together:
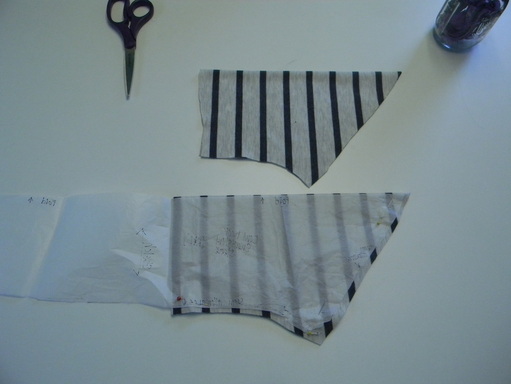
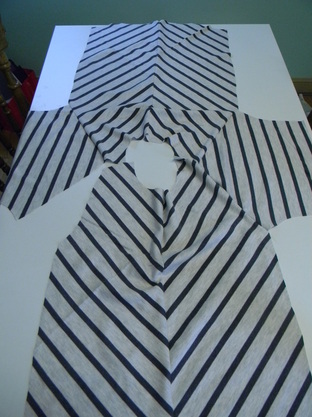
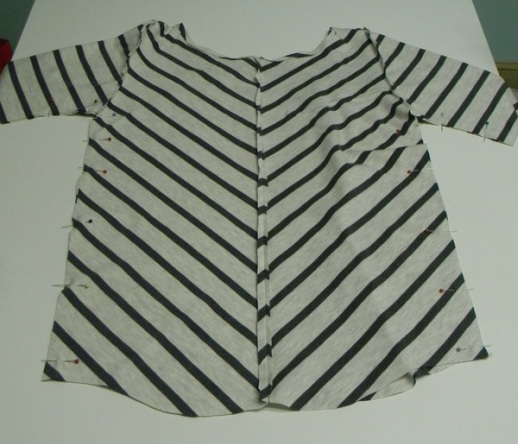
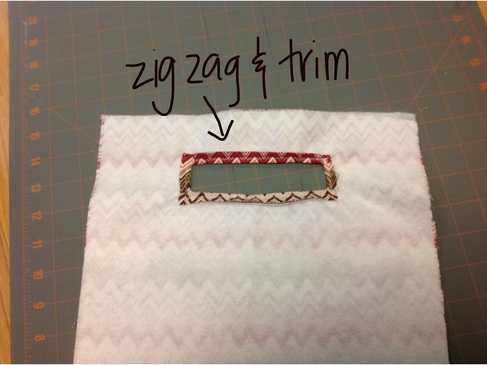
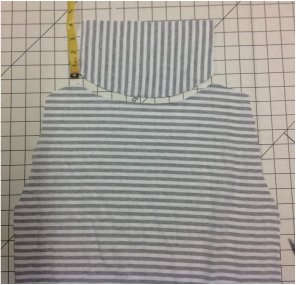
Take the two front pieces you cut out and lay them on top of each other just as you cut them out. Sew a straight stitch all along the front piece (the left side in my picture below). When you open it up you should see your chevron pattern, yippee!!
* Do the same thing to the two back pieces.
Take the two front pieces you cut out and lay them on top of each other just as you cut them out. Sew a straight stitch all along the front piece (the left side in my picture below). When you open it up you should see your chevron pattern, yippee!!
* Do the same thing to the two back pieces.
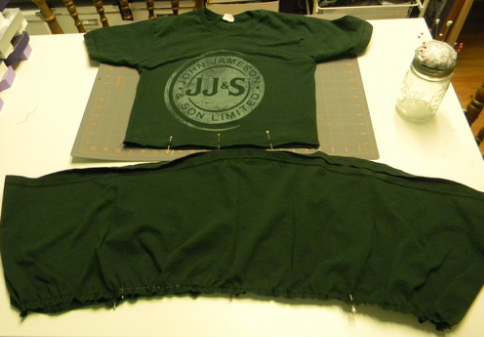
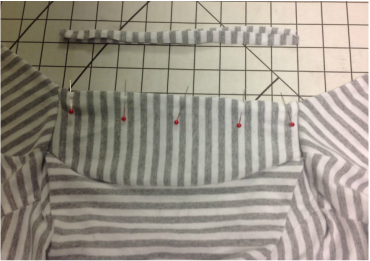
5. Adding the sleeves:
I took a bunch of pictures of this steps so here goes. First match one sleeve to the left front bodice (right sides together) & pin in place. Remember, the "folded" part of your sleeve pattern should be at the top of the shoulder. Sew a straight stitch.
I took a bunch of pictures of this steps so here goes. First match one sleeve to the left front bodice (right sides together) & pin in place. Remember, the "folded" part of your sleeve pattern should be at the top of the shoulder. Sew a straight stitch.
| 
|
6. Add the back piece to the left sleeve:
Match up the other part of that sleeve to the arm hole of the back piece. Pin right sides together and sew.
Match up the other part of that sleeve to the arm hole of the back piece. Pin right sides together and sew.
| 
|
7. Attach right sleeve to back piece:
Take the right sleeve and pin it to the back piece, right sides together. Sew. If you look closely you can see my pins on the left in the picture below.
Take the right sleeve and pin it to the back piece, right sides together. Sew. If you look closely you can see my pins on the left in the picture below.
| 
|
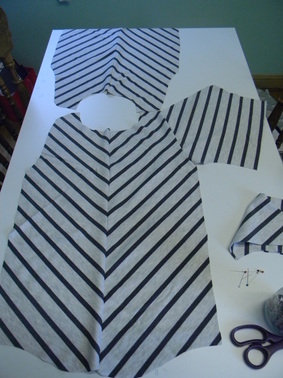
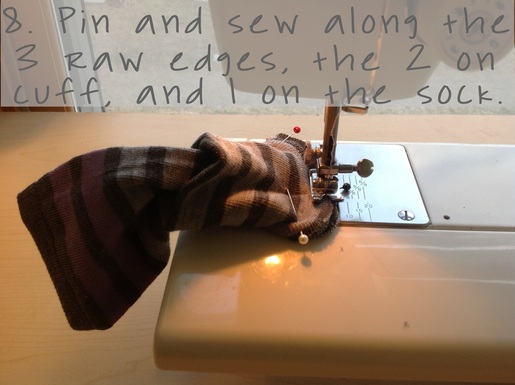
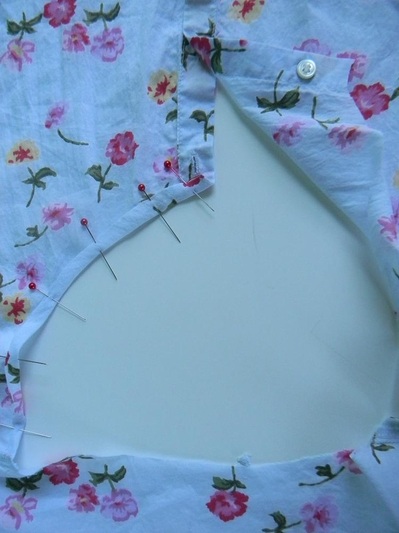
8. Sew right sleeve to front bodice:
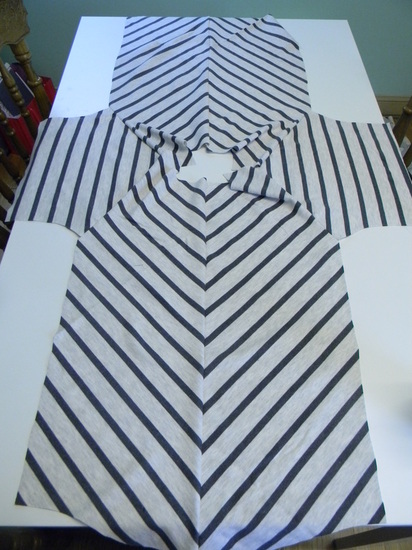
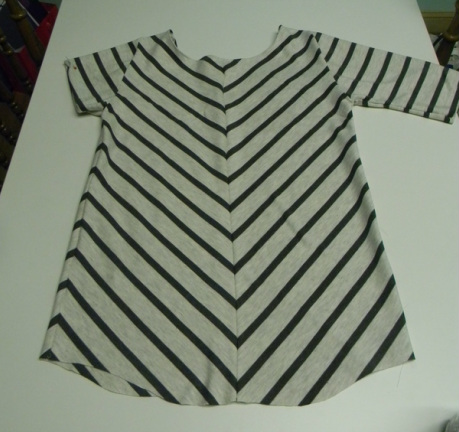
Place that right sleeve on top of the front bodice piece matching the edges. Pin and sew. This is what you should end up with.
Place that right sleeve on top of the front bodice piece matching the edges. Pin and sew. This is what you should end up with.
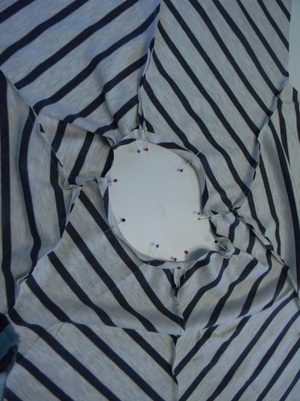
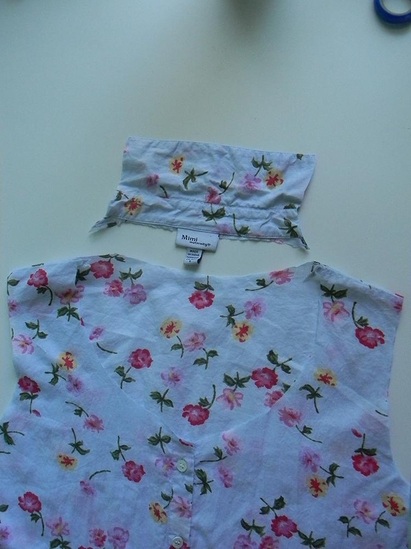
9. Hem the neckline:
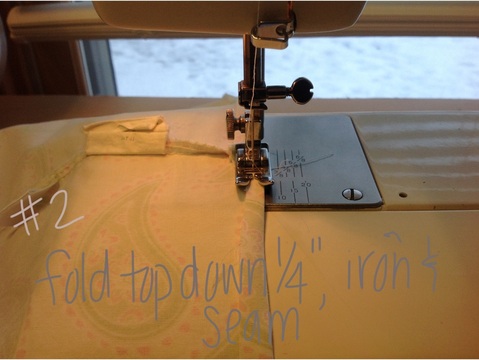
Pin the neckline down to the inside about 1/4 inch and pin. You only have to fold over once since the fabric will not fray. Then sew down. I used a straight stitch, but when I did the sleeves I used a zig zag and it turned out nice. So if I were to do it again I might zig zag around the neckline too.
Pin the neckline down to the inside about 1/4 inch and pin. You only have to fold over once since the fabric will not fray. Then sew down. I used a straight stitch, but when I did the sleeves I used a zig zag and it turned out nice. So if I were to do it again I might zig zag around the neckline too.
10. Shoulder seams:
Next fold the sweatshirt with front and back right sides together. Pin and sew the shoulder seams.
Next fold the sweatshirt with front and back right sides together. Pin and sew the shoulder seams.
11. Side seams:
With the sweatshirt inside out sew up the side seams and under the arms with a straight stitch.
With the sweatshirt inside out sew up the side seams and under the arms with a straight stitch.
12. Shorten sleeves:
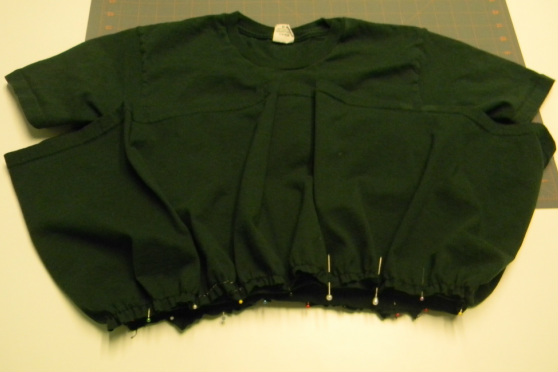
Put the sweatshirt on and get excited because you are almost done! Fold the sleeves up to where you want them and pin. Cut leaving about a 1/4 inch for the fold. Again, I folded only once because I don't think it will fray.
*Repeat on both sleeves.
Put the sweatshirt on and get excited because you are almost done! Fold the sleeves up to where you want them and pin. Cut leaving about a 1/4 inch for the fold. Again, I folded only once because I don't think it will fray.
*Repeat on both sleeves.
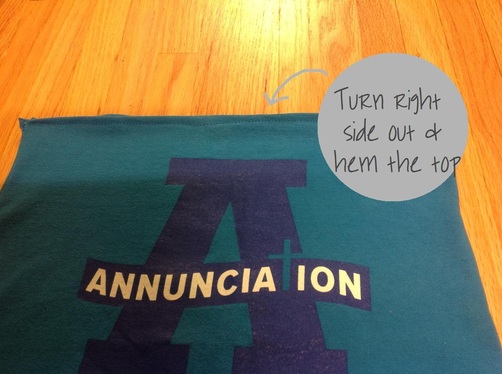
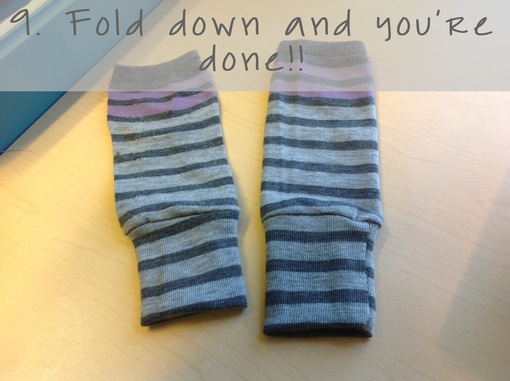
13. Turn right side out and you're done!!


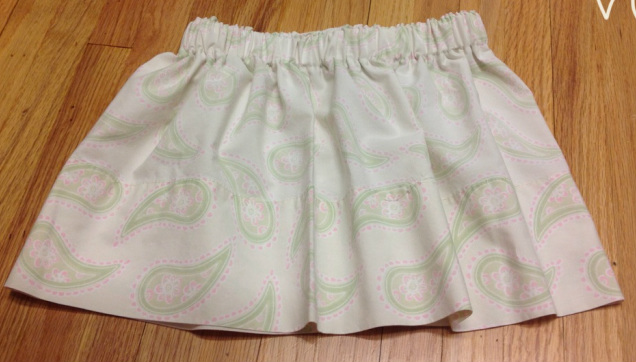
OK, so this isn't the only time I have found stretch jersey knit (thicker sweatshirt style) at the thrift store. I REALLY want ideas of what else I could sew with this kind of fabric. I tried a maxi skirt which worked OK, but it can't be over 60 degrees or too much leg sweat starts happening ;-)


 RSS Feed