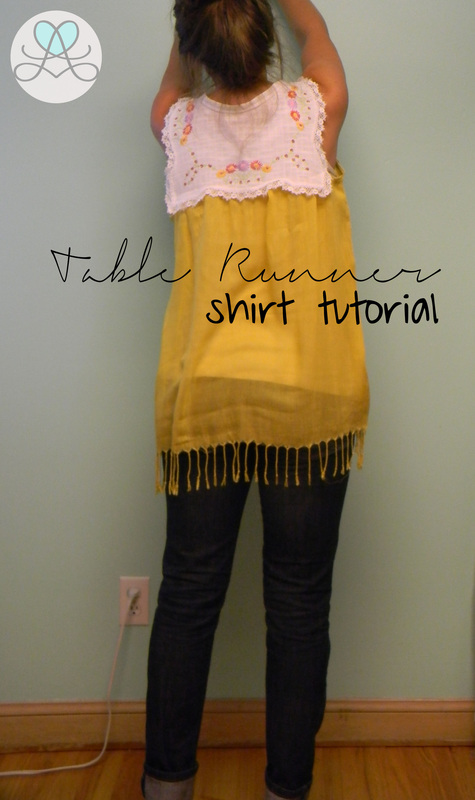
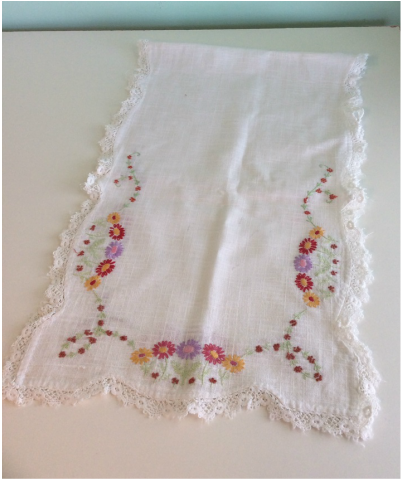
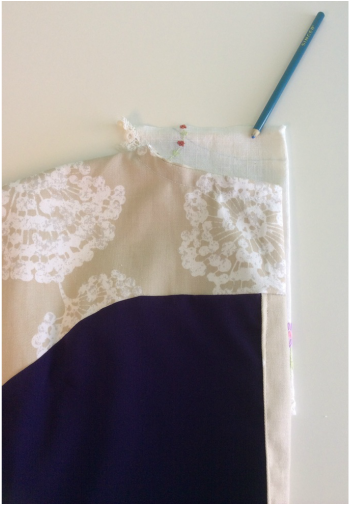
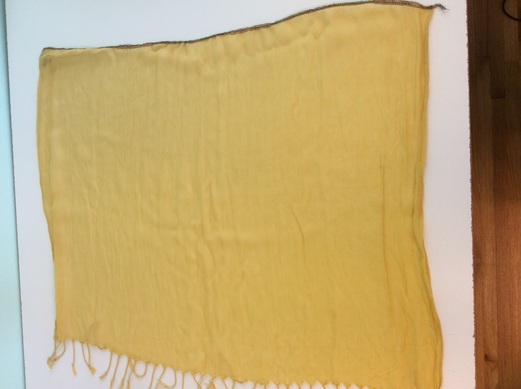
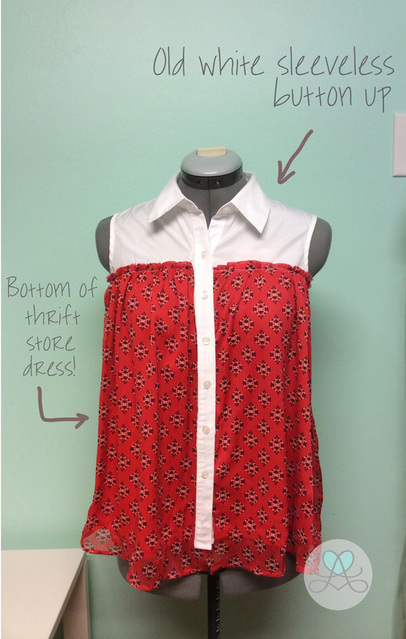
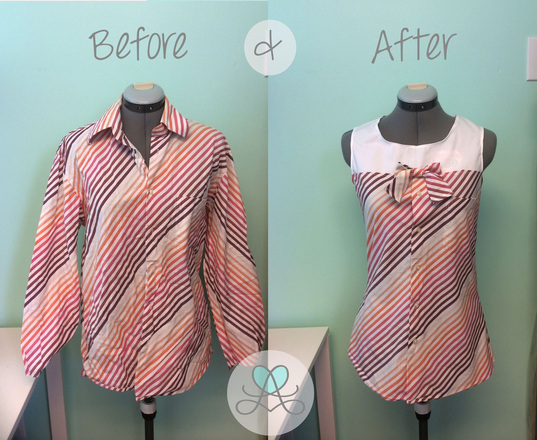
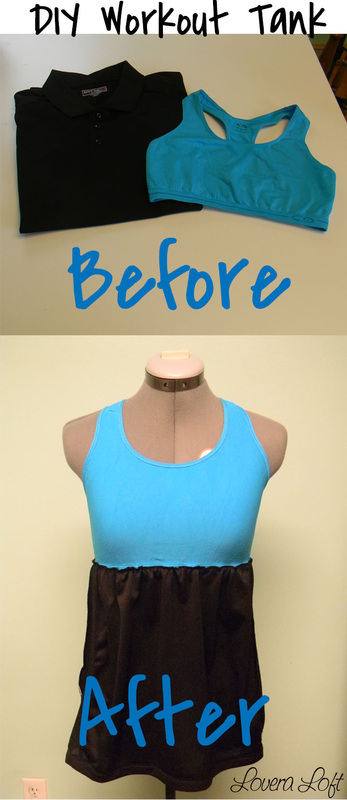
Creativity happens anywhere. The thought for this shirt came in the middle of the table coverings isle at Savers. I found this amazing embroidered table runner and new it needed a new life as something else. The size was about perfect to be a "yoke" of a shirt as I held it up in the mirror. I was too excited to wait so I searched the store for something that could be the bottom part of this shirt and found a mustard color scarf that I thought would work. Can you imagine the other customers as I am holding up a table runner and scarf to my body in the mirror with a stupid kid-like grin on my face?! Haha!
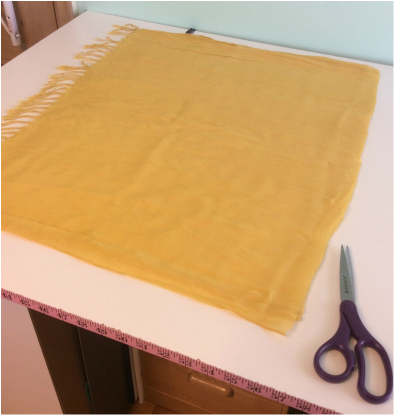
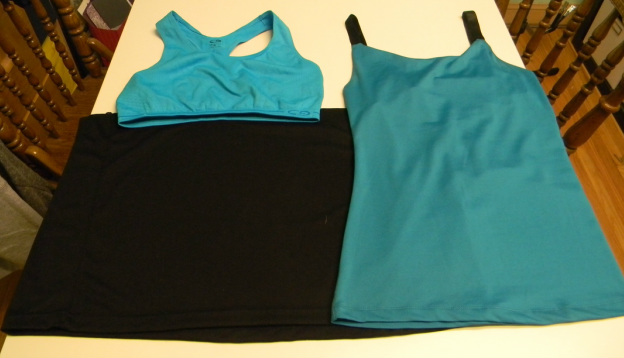
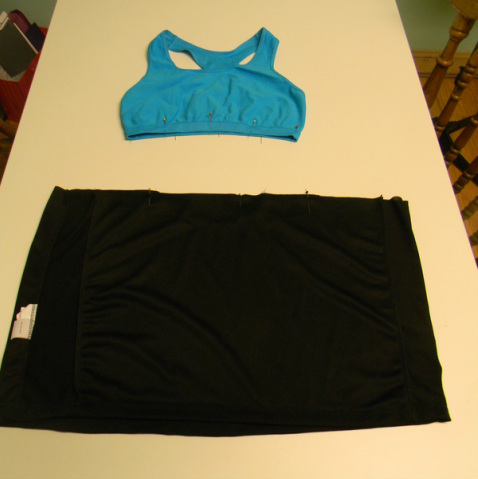
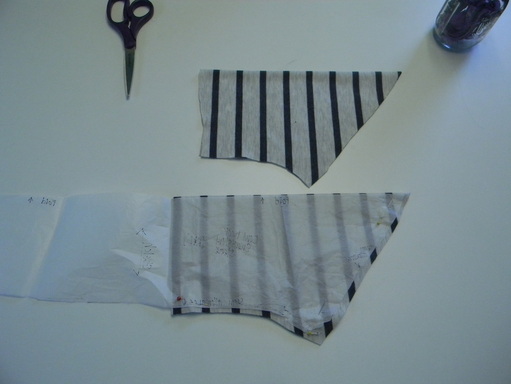
Cut ends of scarf. Mine were about 20 inches from fringe to cut edge.
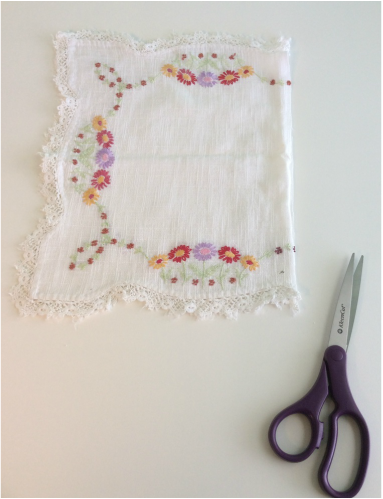
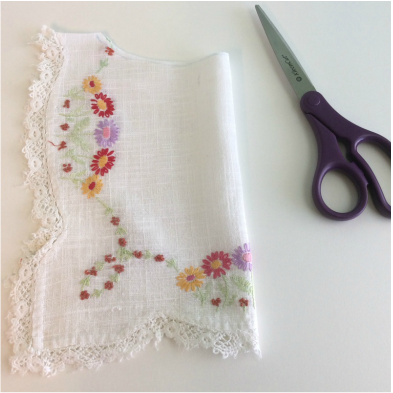
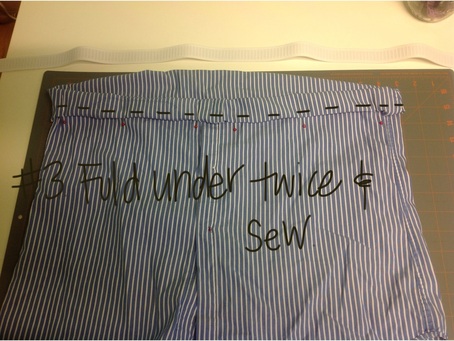
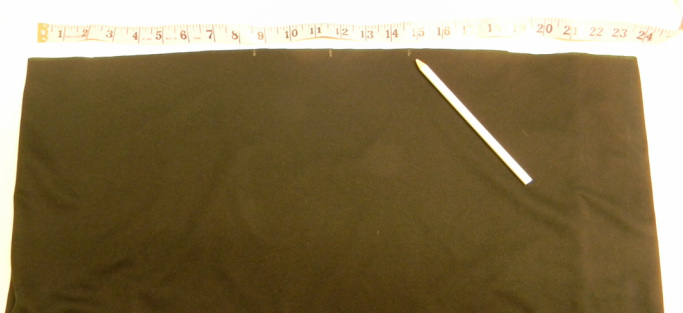
Cut ends of table runner. Mine were about 10 inches.
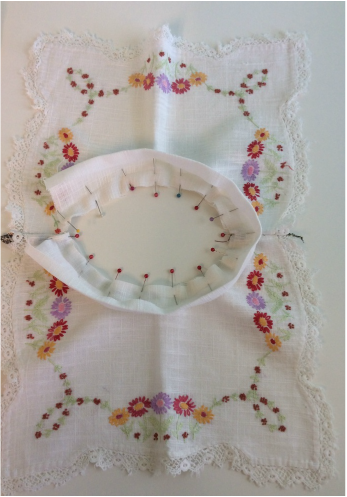
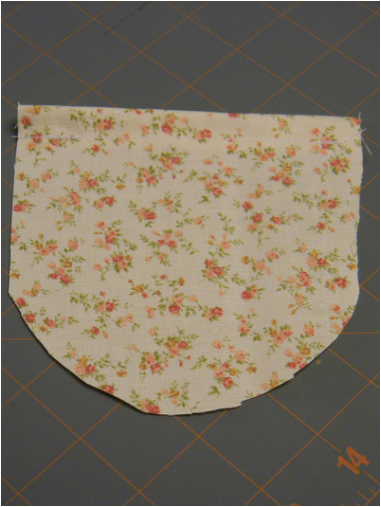
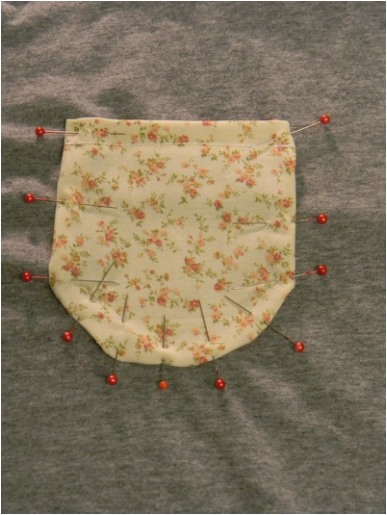
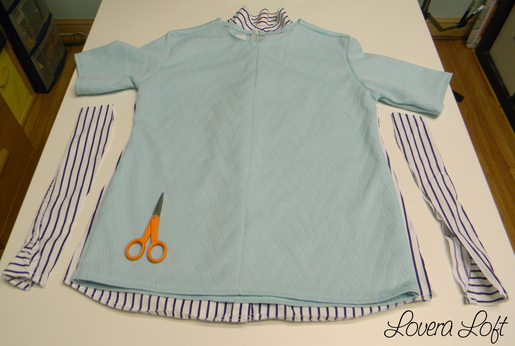
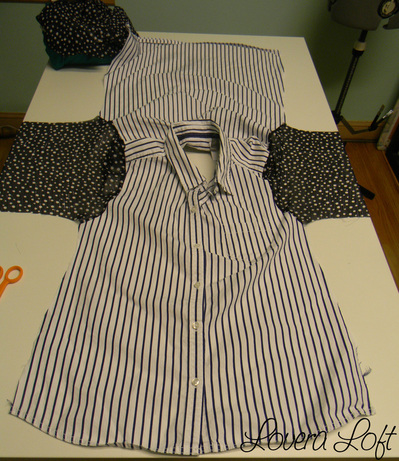
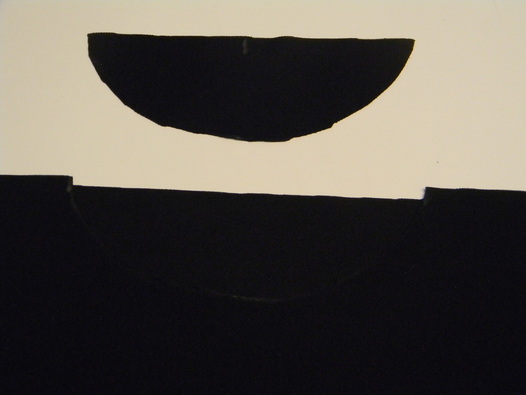
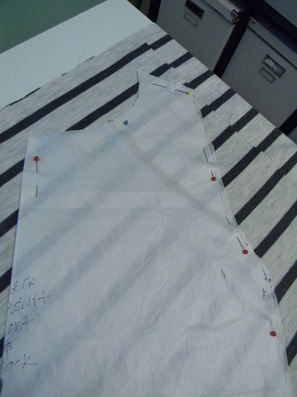
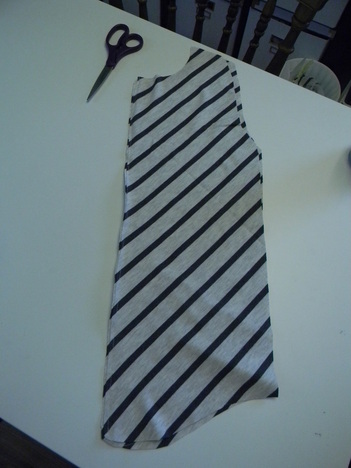
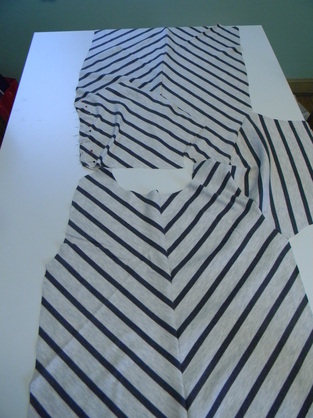
Fold table runner pieces in half and find a shirt (with no stretch). Trace the neckline of the shirt.
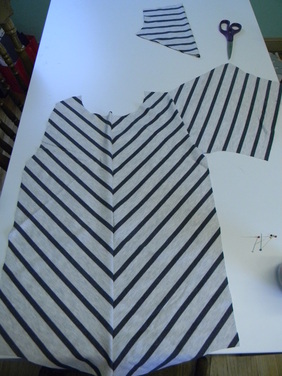
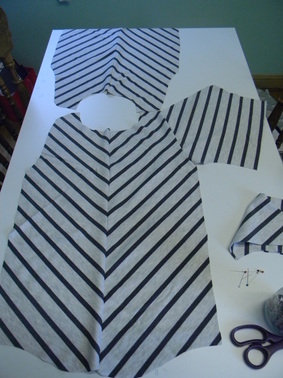
Cut out the neckline.
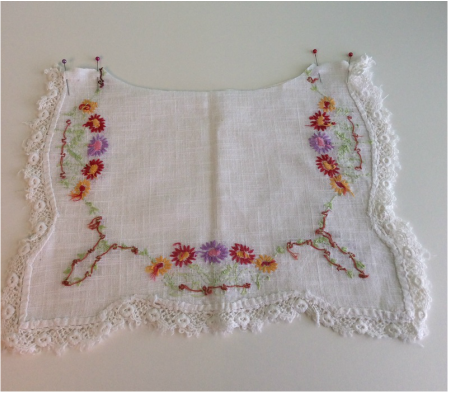
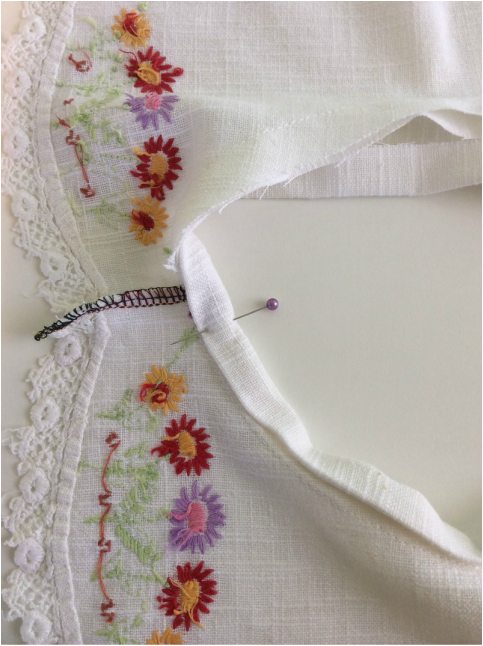
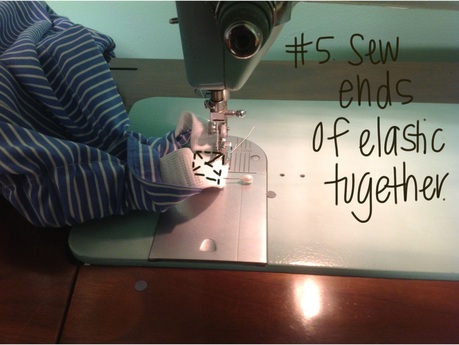
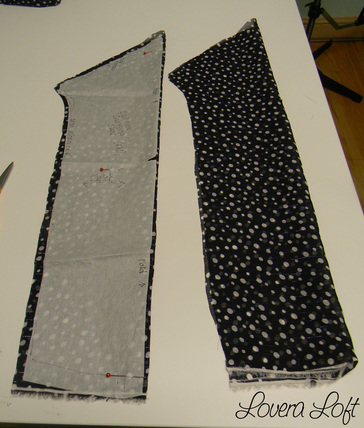
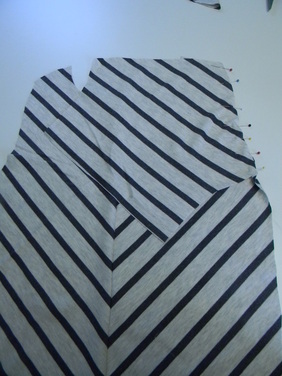
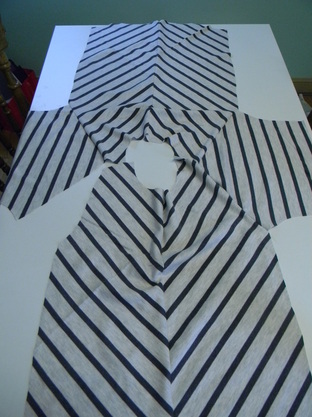
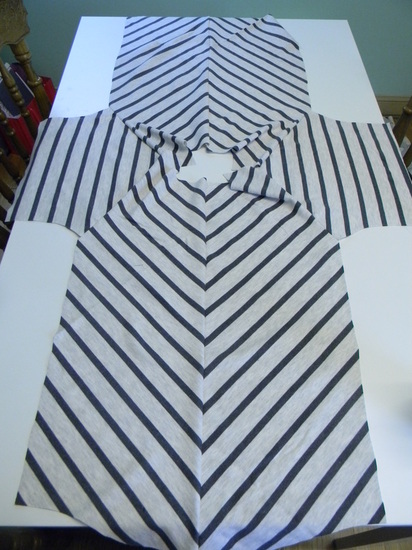
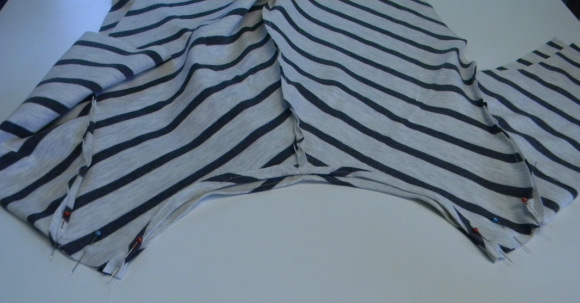
Place runner pieces right sides together. Pin and sew shoulder seams.
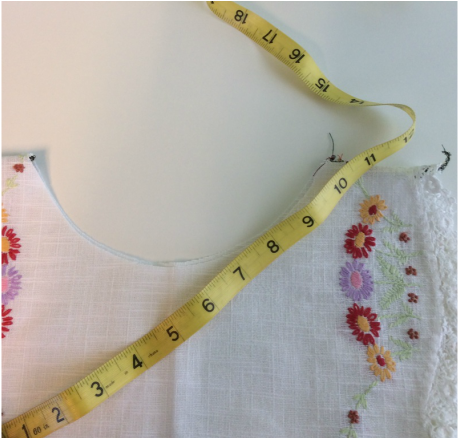
Measure the neckline. Mine was 10 inches front and back, so 20 inches around. Make sure it fits over your head. If not, make it lower in front and back.
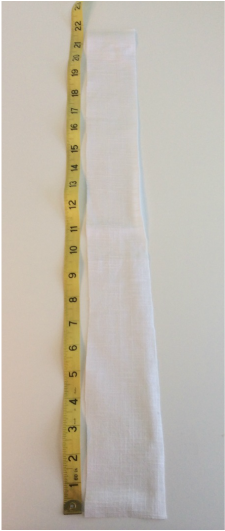
Cut a long rectangle to make binding for the neckline. Mine was 20 X 3 inches....but I should have added a couple inches to the length.
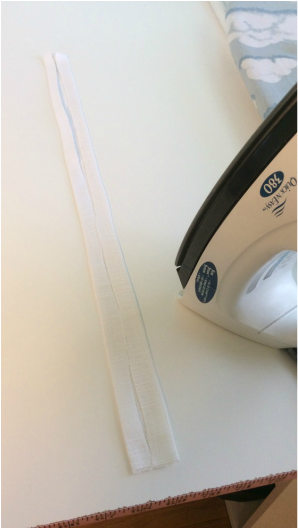
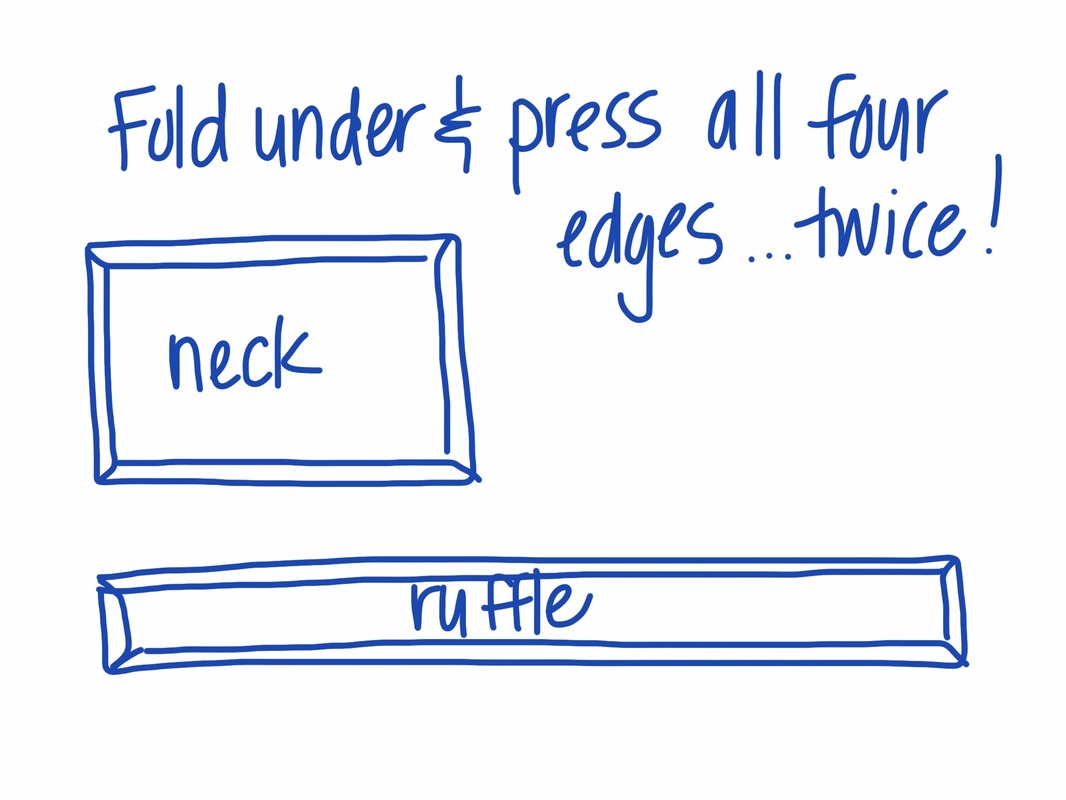
Fold the long rectangle edges in to the center and iron.
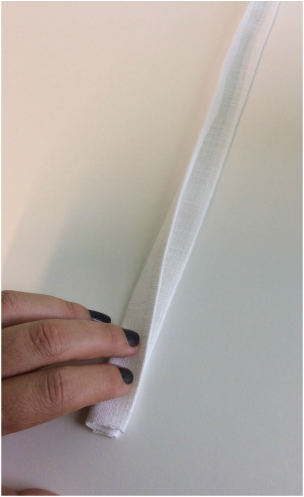
Fold in half one more time and iron again.
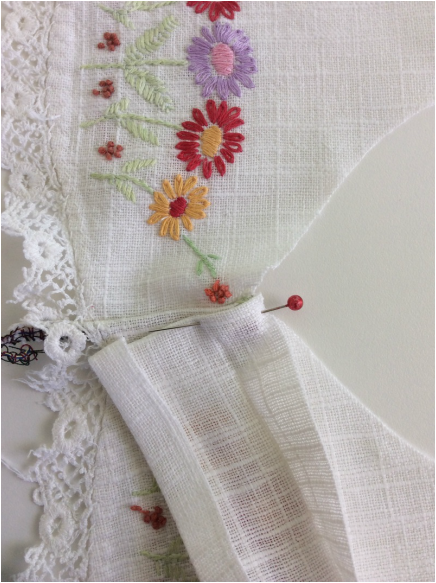
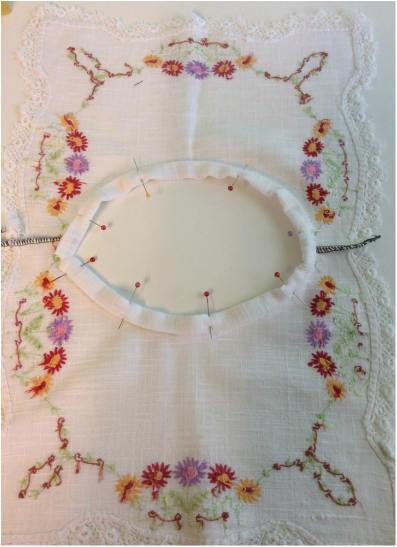
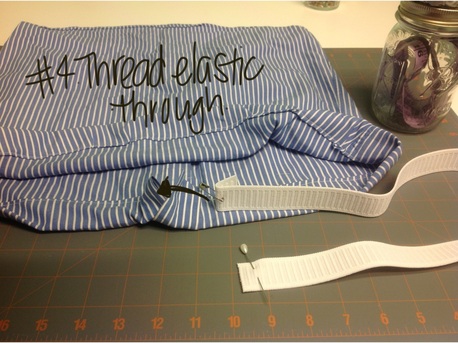
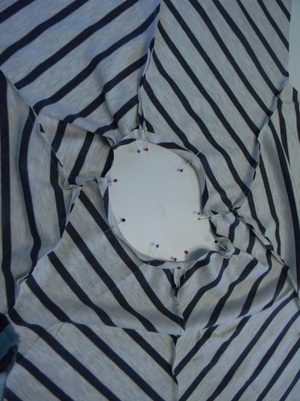
Unfold one edge of the binding you just made. Place it on the RIGHT side of the neckline, matching the raw edges. Tuck the raw edge under at the seam and pin.
Continue like this and pin all the way around the neckline. Then sew in the folded channel closest to the raw edge.
Flip over to the WRONG side of the neckline and pin the folded side of the binding to the back.
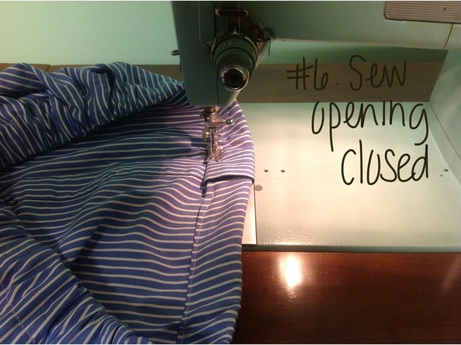
Pin all around the neckline and then sew in place.
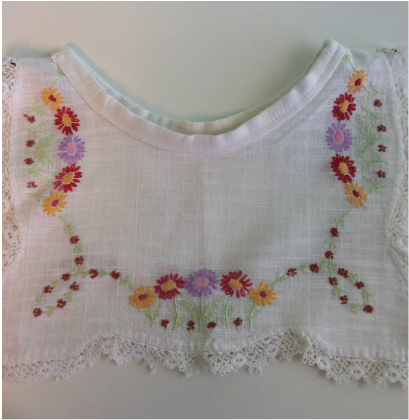
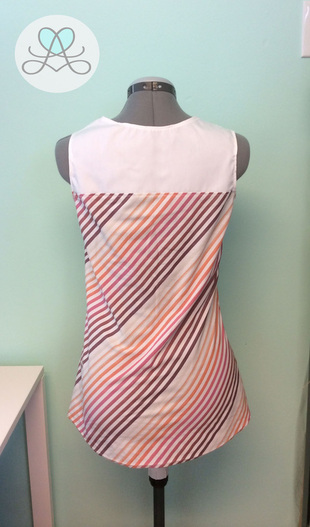
Finished neckline binding!
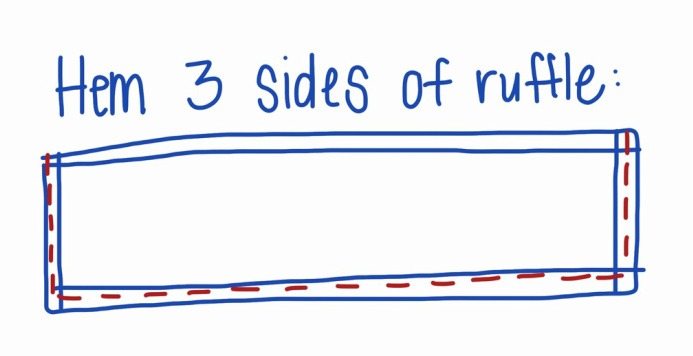
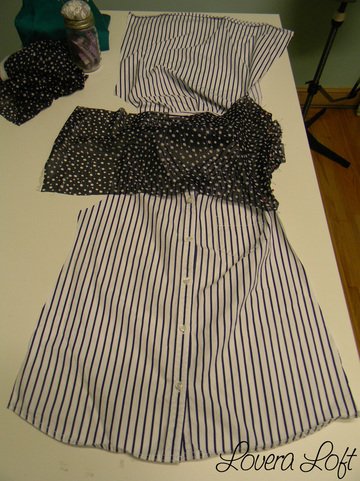
Serge the top edge of both scarf pieces (cut edge opposite the fringe). I am too scared to change the thread in the machine...hence the dark thread!!
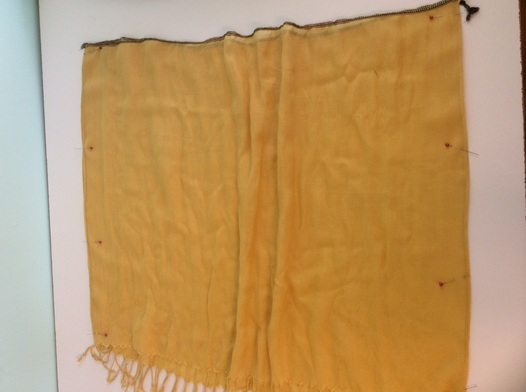
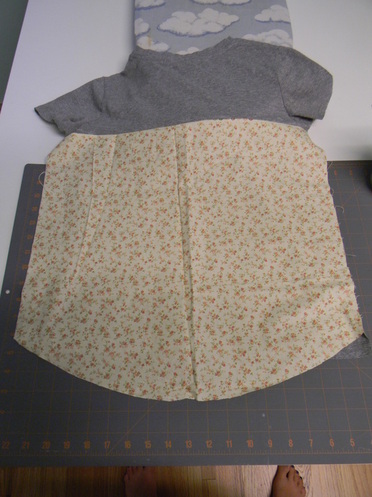
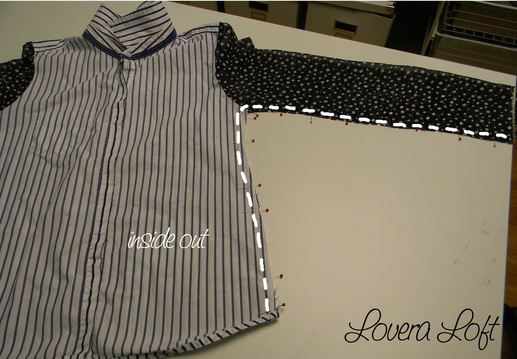
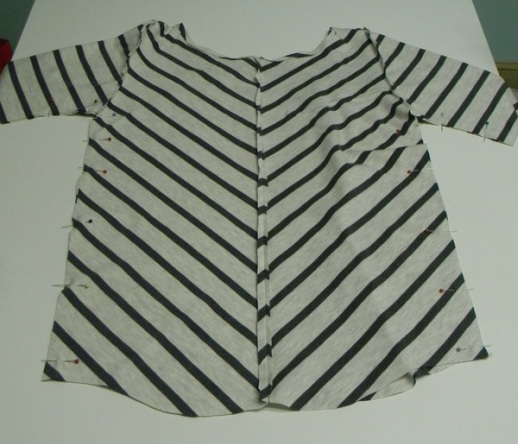
Place the right sides of the scarf together and sew up the side seams. I used my regular machine because the edges were already finished.
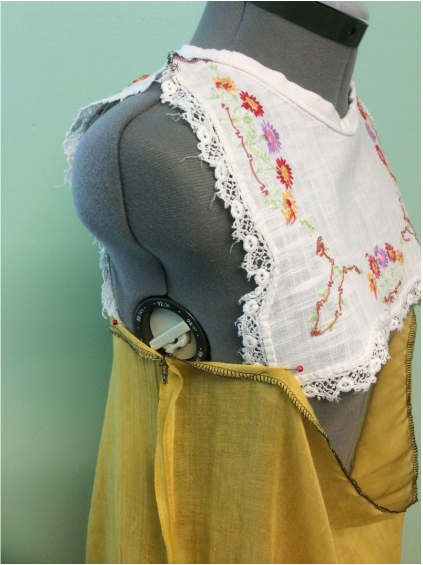
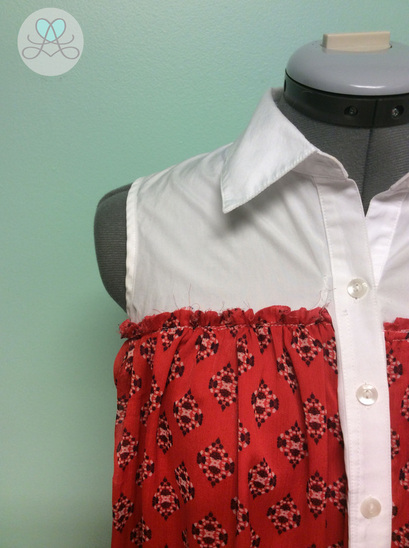
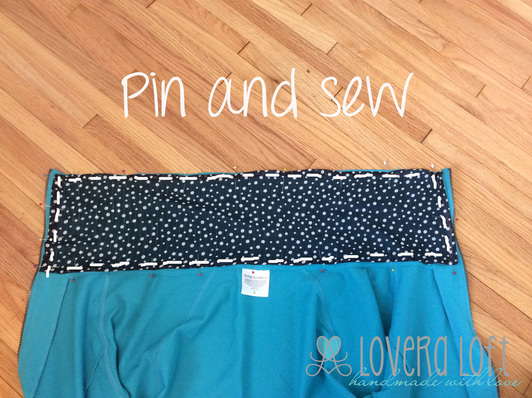
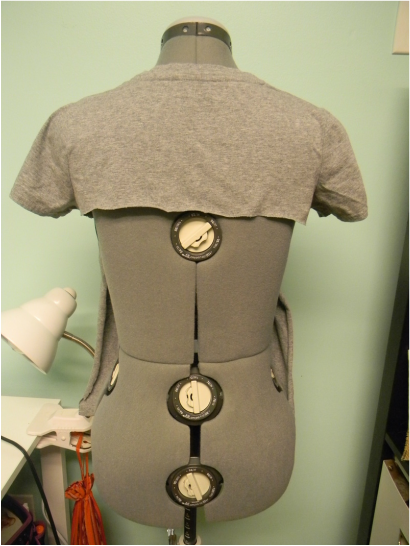
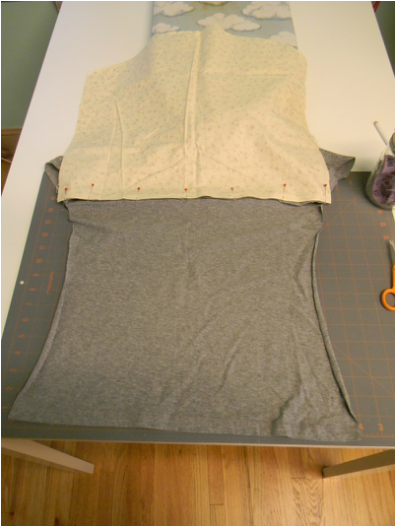
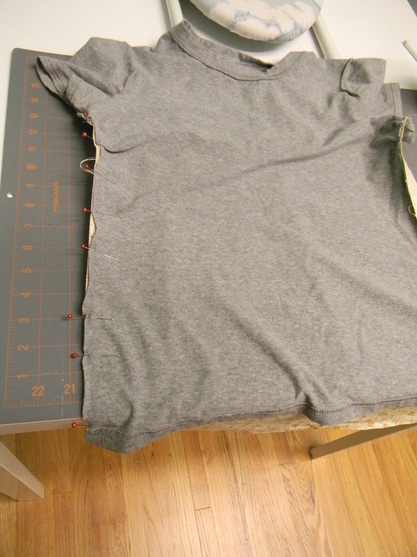
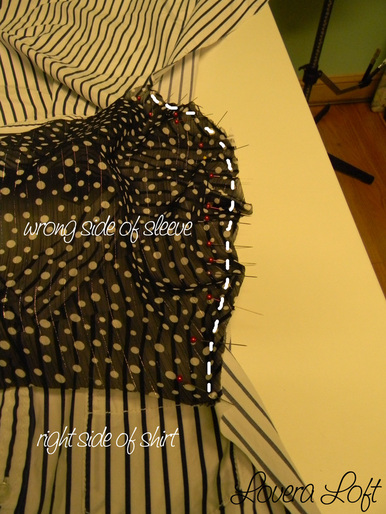
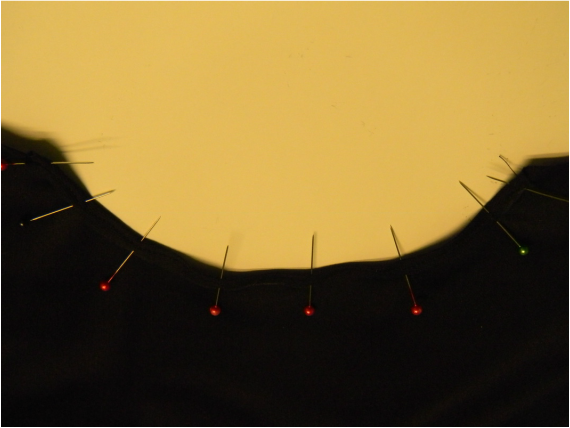
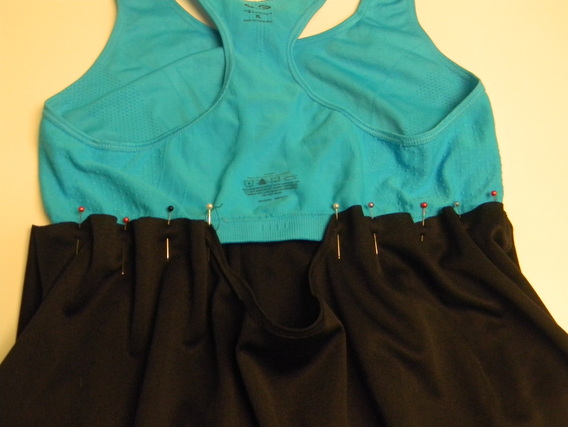
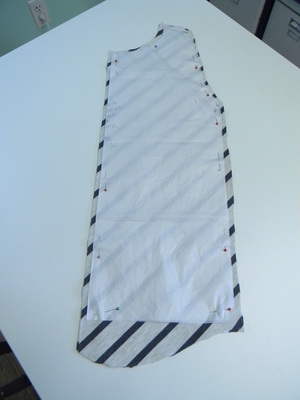
Here is how I finished my top. I placed it inside out on my mannequin and then pinned the sides first. I made sure I folded the serged edge down a bit so the side seams wouldn't show from the front.

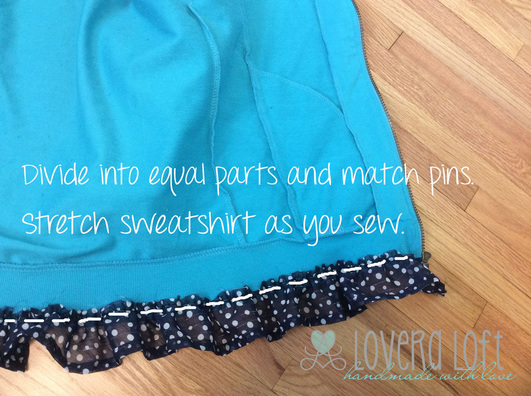
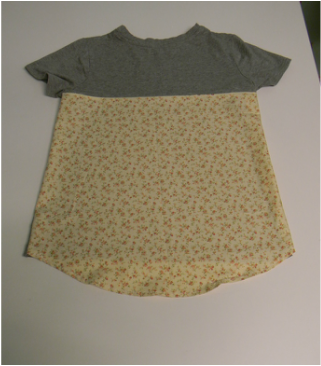
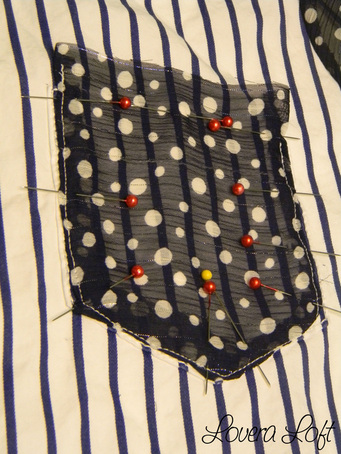
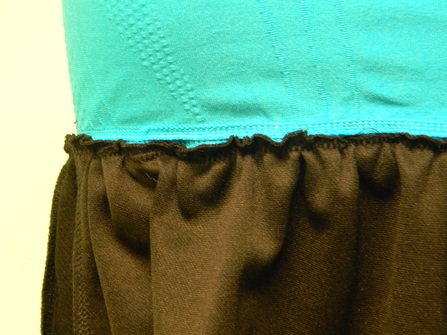
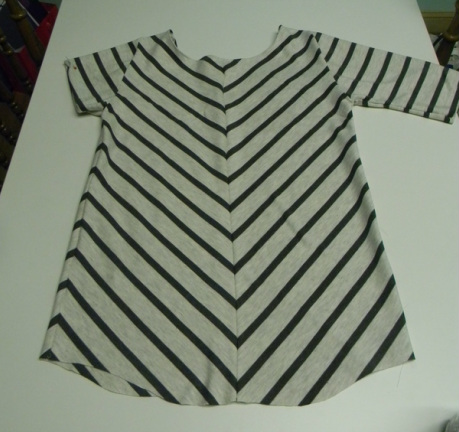
Next, I pinned the center and a few other spots, trying to keep it evenly spaced. Remembering to fold down the edge a bit. Then I took my time and sewed all around the scarf edge to attach it to the top piece. I made little folds in the scarf material as I went to gather it. There is probably a better way to do this part, but it worked OK for me. :)
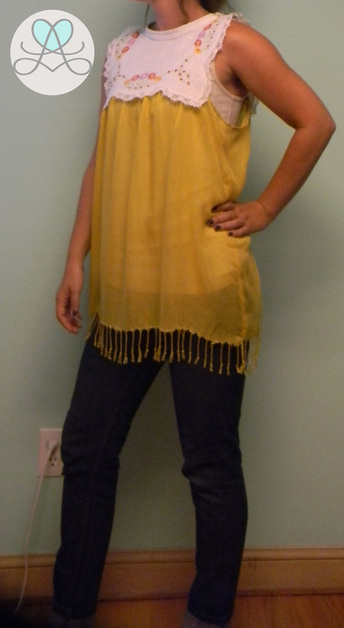
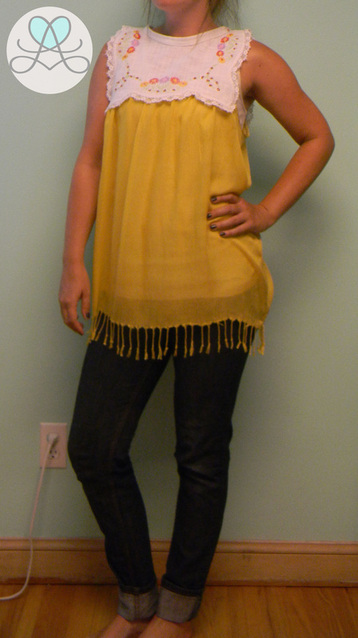
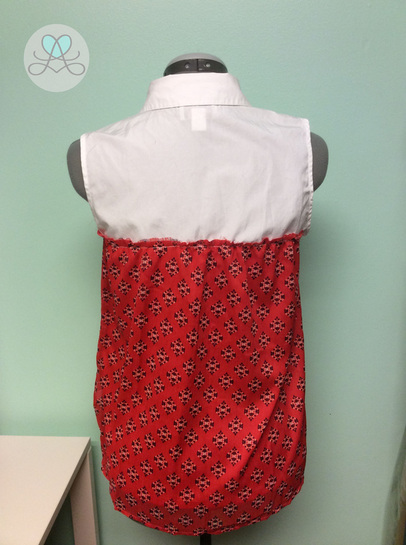
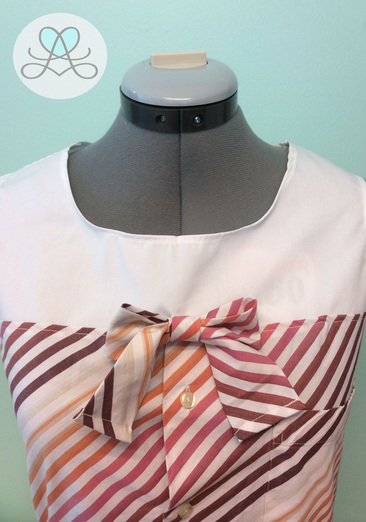
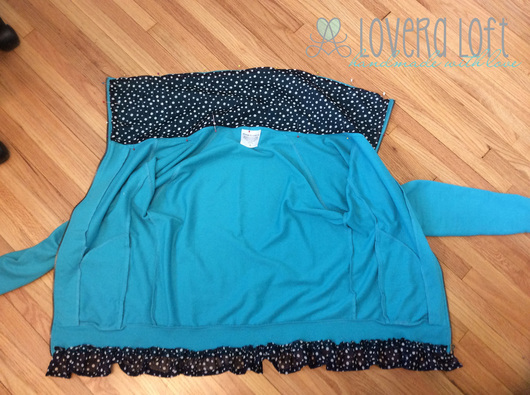
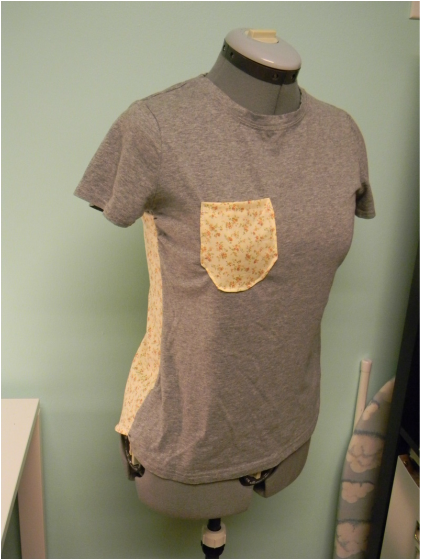
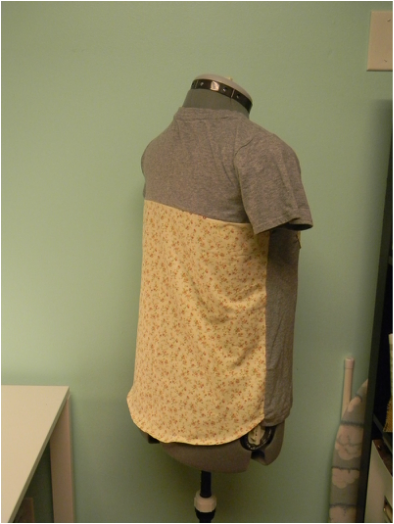
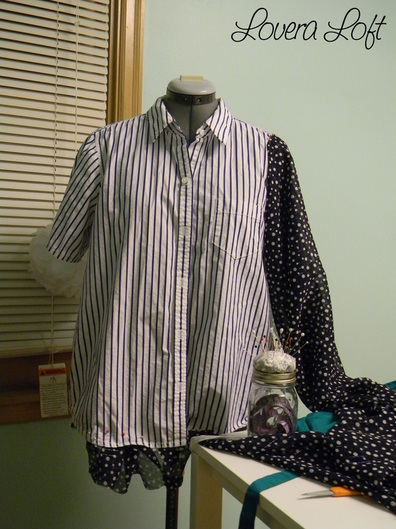
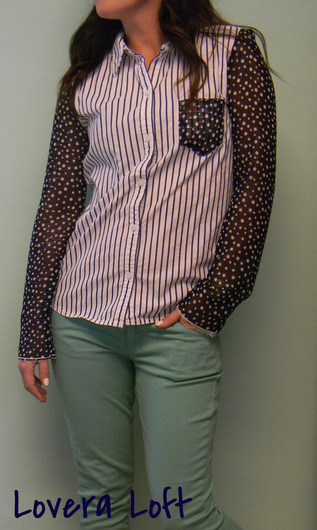
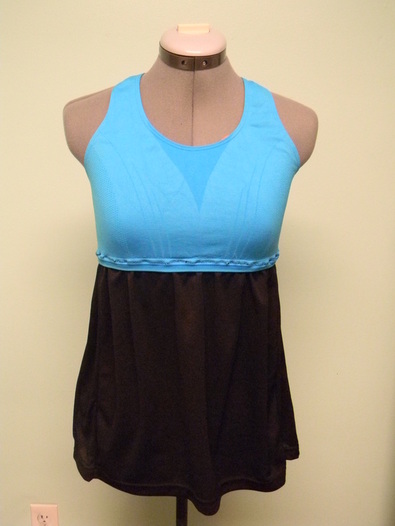
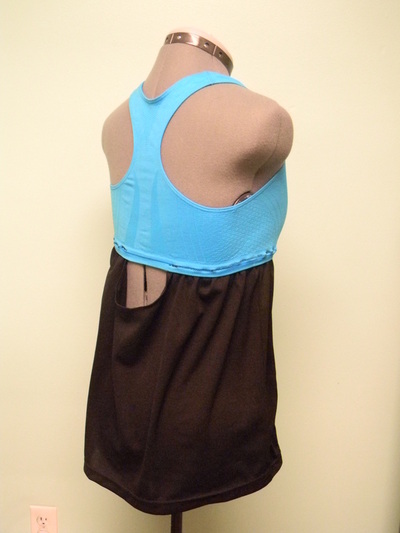
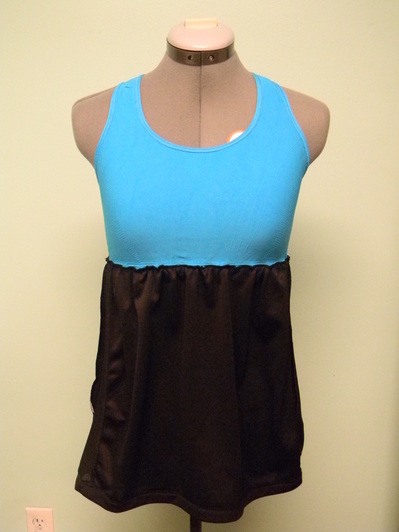
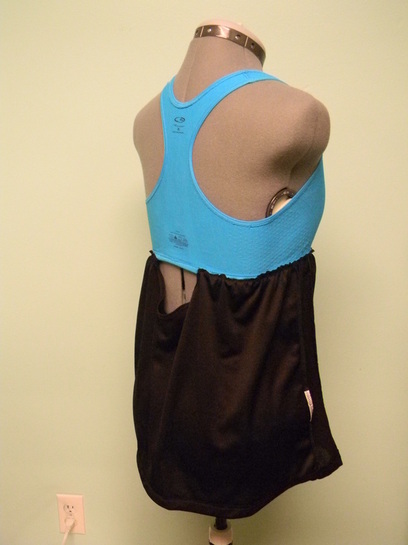
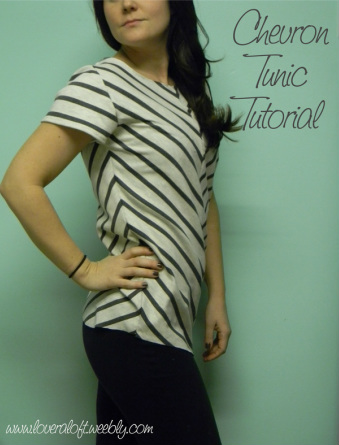
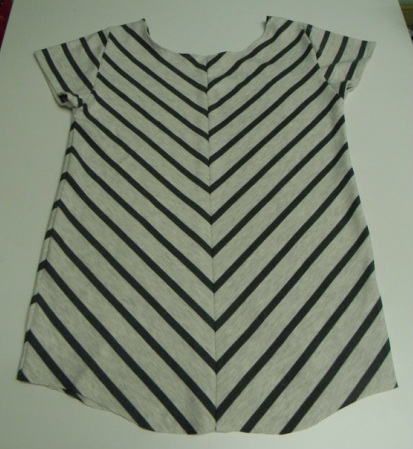
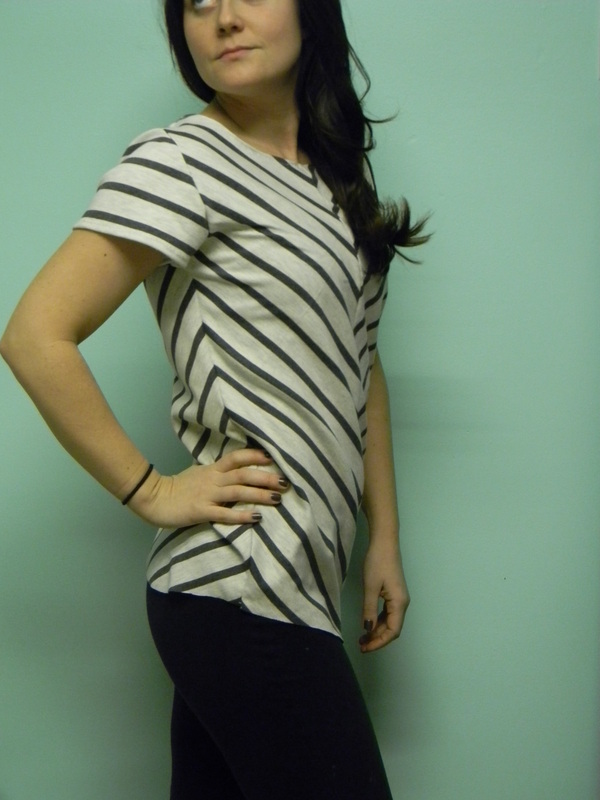
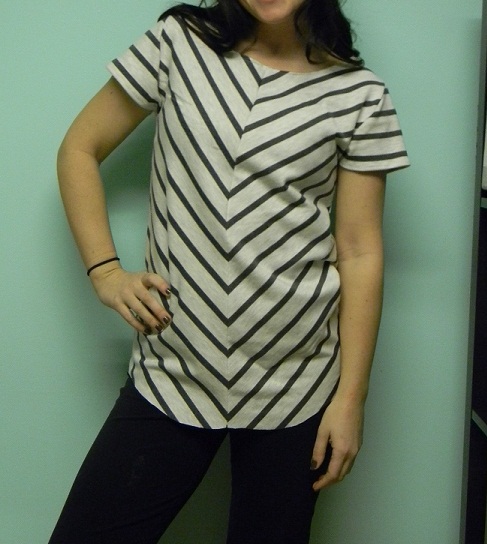
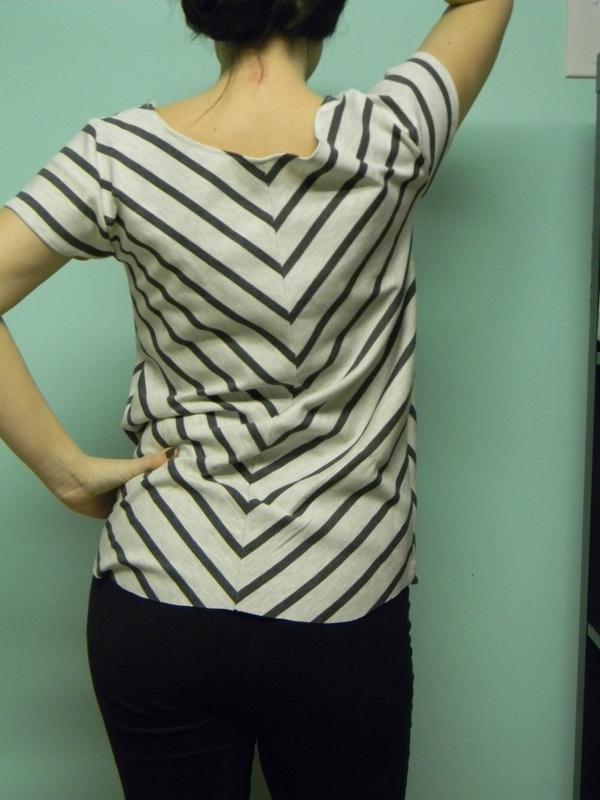
All done! Now looking at the shirt...it is almost long enough to wear as a dress, maybe with a dress slip underneath? If you use a scarf that is non-transparent and made it a tad longer it would make a cute dress!
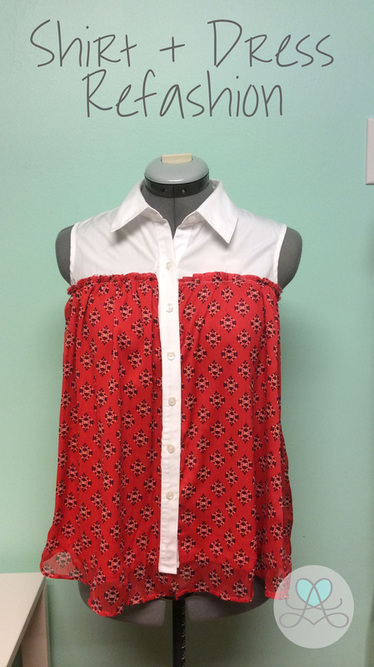
I like to call this a mash-up creation, not sure if I invented that term or not. What next for a mash up.... tea towels and hot pads?!
I like to call this a mash-up creation, not sure if I invented that term or not. What next for a mash up.... tea towels and hot pads?!


 RSS Feed